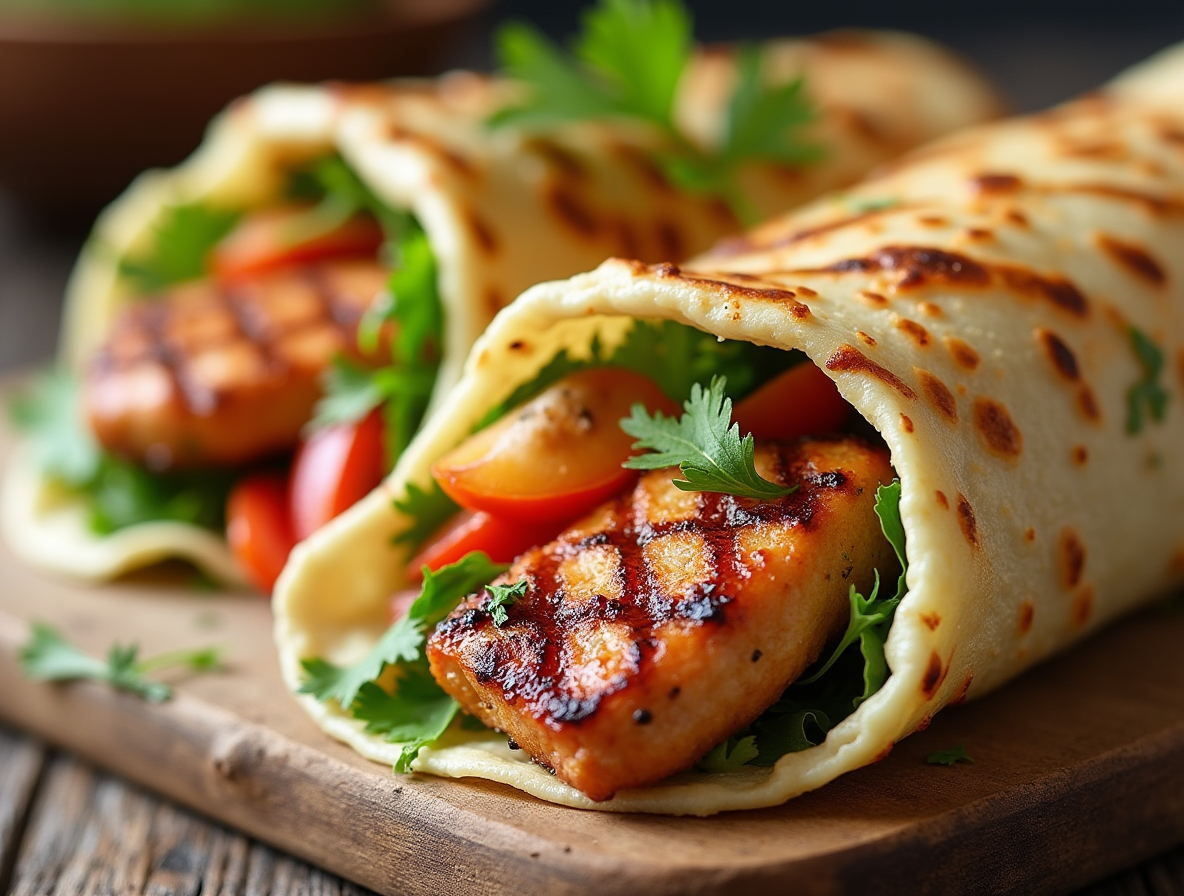
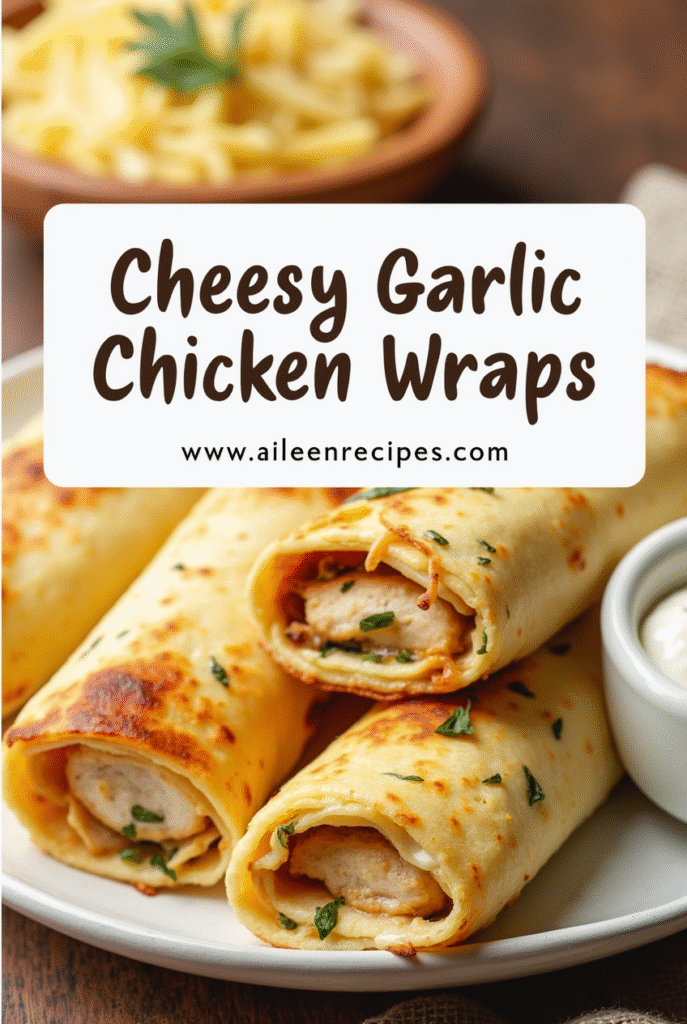
How to Make Cheesy Garlic Chicken Wraps That Your Family Will Fight Over
Cheesy garlic chicken wraps have become my go-to solution for those hectic weeknights when time is limited but hunger isn’t. Ready in just 25 minutes, these protein-packed wraps deliver approximately 38 grams of protein per serving, making them both quick and satisfying.
What makes these easy chicken wrap recipes so fantastic is their incredible versatility. You can customize your garlic chicken wrap with different vegetables or cheese varieties to suit everyone’s preferences. Additionally, the combination of crispy tortillas and gooey cheese appeals to both kids and adults, virtually eliminating dinner complaints. If you’re into meal prep, the chicken and cheese wrap filling can be stored in the refrigerator for up to three days, while using leftover chicken reduces food waste and saves even more time.
We often pair our cheesy garlic chicken with sweet potato fries or a fresh salad for a complete meal. The secret to making these wraps truly irresistible lies in proper seasoning—something I’ll show you exactly how to do in this recipe guide.
What You’ll Need for Cheesy Garlic Chicken Wraps
Gathering ingredients for cheesy garlic chicken wraps is a straightforward process that won’t require a special trip to a specialty store. Let’s examine each component needed for this family-favorite meal.
Chicken: fresh or leftover
For these wraps, you’ll need about 2 cups of cooked, shredded chicken. Boneless, skinless chicken breasts or thighs work perfectly. First and foremost, you can cook fresh chicken by sautéing it with a bit of olive oil, salt and pepper until it reaches an internal temperature of 165°F. Alternatively, this recipe shines as a clever way to repurpose leftover rotisserie chicken from last night’s dinner. The key is ensuring your chicken is well-seasoned and moist – dry chicken will result in dry wraps!
Cheese: cheddar, mozzarella, or a mix
The cheese selection fundamentally impacts the flavor profile of your cheesy garlic chicken wrap. Sharp cheddar provides tanginess, whereas mozzarella delivers that Instagram-worthy cheese pull. For the ultimate experience, use a combination of both – about 1½ cups total per batch of wraps. Freshly grated cheese melts more smoothly than pre-shredded varieties, which often contain anti-caking agents. Nevertheless, pre-shredded cheese works in a pinch when time is limited.
Garlic: fresh or powdered
Fresh garlic offers the most vibrant flavor for your chicken and cheese wraps. Three to four cloves, finely minced, will infuse your wraps with aromatic goodness. Conversely, if fresh isn’t available, substitute with 1-1½ teaspoons of garlic powder. For an even quicker option, jarred minced garlic (about 2 teaspoons) provides a happy medium between convenience and flavor.
Tortillas: flour or low-carb
Medium-sized (8-inch) flour tortillas create the perfect proportion of filling to wrap. These tortillas are sturdy enough to hold your ingredients without tearing yet thin enough to crisp nicely when toasted. Moreover, for those watching carbohydrates, several low-carb options exist including almond flour, coconut flour, or cauliflower-based tortillas. Regardless of type, warming them briefly before assembly makes them more pliable and less likely to crack.
Creamy garlic sauce: store-bought or homemade
The secret weapon in exceptional cheesy garlic chicken wraps is undoubtedly the creamy garlic sauce. To create a simple homemade version, mix ½ cup mayonnaise, ¼ cup sour cream, 2 minced garlic cloves, and a squeeze of lemon juice. Subsequently, if you’re pressed for time, ranch dressing with added garlic powder or prepared garlic aioli from the refrigerated section of your grocery store works beautifully. This sauce not only adds moisture but ties all the flavors together into a cohesive, crave-worthy bite.
Step-by-Step: How to Make Cheesy Garlic Chicken Wraps
Creating delicious cheesy garlic chicken wraps requires methodical execution and attention to details. Let me walk you through the exact process that turns simple ingredients into a meal your family will scramble to claim.
1. Season and cook the chicken
Begin by seasoning your diced chicken thoroughly. Combine the chicken with olive oil, garlic powder, onion powder, paprika, salt, and pepper in a large bowl. Toss until every piece is evenly coated with these flavorful spices. Heat a non-stick skillet over medium heat, then add your seasoned chicken. Cook for 6-8 minutes, stirring occasionally, until the chicken develops a beautiful golden-brown color and reaches an internal temperature of 165°F. Alternatively, if using leftover rotisserie chicken, simply shred it into bite-sized pieces.
2. Prepare the garlic sauce
Meanwhile, create your creamy garlic sauce by mixing sour cream, mayonnaise, and minced fresh garlic in a small bowl. For enhanced flavor, add a splash of fresh lime juice and a sprinkle of chopped parsley. Stir until the mixture is smooth and well-combined. This sauce adds moisture and a delightful garlicky punch that elevates these wraps from ordinary to extraordinary. Set aside until assembly time.
3. Assemble the wraps
Lay out your flour tortillas on a clean surface. Spread a generous spoonful of your prepared garlic sauce on each tortilla first. Next, place your cooked chicken in the center. Top with a handful of shredded cheddar and mozzarella cheeses – the combination creates the perfect melty texture. For added freshness, consider adding some green onions. Fold in the sides of each tortilla, then roll them up tightly from the bottom to secure all the fillings inside.
4. Toast until golden and crispy
Heat a clean non-stick skillet over medium heat. Place your assembled wraps seam-side down in the pan. This crucial step seals the wraps and prevents them from opening during cooking. Toast for approximately 3-4 minutes per side until they develop a beautiful golden-brown exterior and the cheese inside completely melts. For faster cheese melting, cover the pan with a lid. An air fryer works wonderfully too – simply cook at 375°F for 6-8 minutes.
5. Slice and serve hot
Lastly, remove the wraps from heat and let them rest for about one minute. This brief resting period allows the cheese to set slightly, making for cleaner slices. Cut each wrap diagonally through the middle for an attractive presentation that also makes them easier to eat. Serve immediately while they’re still hot and the cheese maintains its gooey consistency. For an extra touch, garnish with a sprinkle of fresh parsley.
Tips to Make Your Garlic Chicken Wraps Even Better
Ever wondered what makes restaurant-quality cheesy garlic chicken wraps so addictive? The difference often lies in simple techniques that elevate homemade versions from good to unforgettable. After mastering the basics, these insider tips will take your wraps to the next level.
Use garlic butter for extra flavor
The secret weapon behind truly exceptional cheesy garlic chicken wraps is undeniably garlic butter. To prepare it, melt butter in a small pan over medium heat, then add minced garlic and cook for about a minute until fragrant—just be careful not to burn it. Afterward, brush half of this aromatic mixture directly onto your chicken as you cook it for an instant flavor boost. Once your wraps are assembled and crispy, brush the remaining garlic butter over the tops. This final touch creates a mouthwatering aroma and adds a beautiful golden sheen.
Don’t overfill the wraps
Perhaps the most common mistake in wrap-making is overloading with fillings. For perfect cheesy garlic chicken wraps, follow this golden rule: cover no more than one-third of your tortilla with ingredients. Starting with a thin layer of greens acts as a moisture barrier between wet ingredients and the tortilla, preventing sogginess. Furthermore, placing ingredients strategically in the center leaves ample space for folding. Remember that an overstuffed wrap won’t seal properly and will likely fall apart mid-bite—resulting in disappointed diners and messy laps!
Cover the pan to melt cheese faster
For that irresistible gooey cheese pull, simply cover your pan with a lid while cooking your cheesy garlic chicken wraps. This traps heat effectively, melting cheese thoroughly without burning the tortilla. First, place assembled wraps seam-side down in a medium-hot skillet, then cover and cook for 3-5 minutes before flipping. Generally, this technique ensures your cheese melts perfectly while the exterior achieves that desirable golden-brown crispiness that makes these wraps so satisfying.
Try the air fryer for extra crispiness
Looking for the ultimate crispy exterior? Your air fryer delivers exceptional results! Preheat to 400°F, place your assembled wraps inside (you might need to work in batches), and air fry for approximately 6 minutes until golden and crispy. Consequently, this method creates an unbelievably crunchy exterior while keeping the inside perfectly melty. Beyond cooking fresh wraps, the air fryer excels at reheating leftovers—it revitalizes day-old wraps by restoring their original crispiness in just minutes.
Fun Variations and Add-Ins to Try
The true beauty of cheesy garlic chicken wraps lies in their adaptability. Once you’ve mastered the basic recipe, the possibilities for customization become virtually endless. Let’s explore some delicious ways to transform your standard wrap into something extraordinary.
Add veggies like spinach or bell peppers
Transform your garlic chicken wrap into a nutritional powerhouse by incorporating colorful vegetables. Bell peppers add a sweet crunch that complements the cheesy garlic flavors perfectly. Spinach or leafy lettuce creates a fresh foundation that prevents tortillas from becoming soggy. Yet other excellent additions include cucumber ribbons, shredded carrots, cherry tomatoes, and thinly sliced red onions. For texture contrast, try water chestnuts or crispy bacon bits. Remember that firmer vegetables work better as they maintain their structure inside the warm wrap.
Swap chicken for shrimp or tofu
Changing the protein opens up entirely new flavor dimensions. Sautéed shrimp cooks in just 7-10 minutes and pairs wonderfully with the garlic elements in these wraps. For plant-based alternatives, firm tofu works remarkably well—simply press it, cube it, and sauté until golden. Essentially, seitan, tempeh, or chickpeas provide excellent texture alternatives. For each protein substitute, adjust cooking times accordingly but maintain the same seasoning profile to preserve that signature garlicky goodness.
Use different cheeses for new flavors
Specifically, the cheese selection dramatically influences your wrap’s character. Sharp cheddar provides tanginess, as well as pepper jack adds subtle heat. Monterey jack melts beautifully, indeed creating those irresistible cheese pulls. Crumbled feta or goat cheese introduces a Mediterranean twist, particularly when coupled with olives and cucumbers. Experiment with cheese combinations—a Mexican blend works wonderfully with added avocado slices.
Add hot sauce or jalapeños for heat
Spice enthusiasts can kick things up with strategic heat additions. A few dashes of your favorite hot sauce require minimal effort yet deliver maximum impact. Fresh or pickled jalapeños introduce both heat and brightness. Alternatively, sriracha or gochujang (Korean chili paste) creates a sweet-spicy profile that’s utterly addictive.
Conclusion
Cheesy garlic chicken wraps stand as one of the most versatile meals in my weeknight rotation. Throughout this guide, I’ve shared how these protein-packed bundles deliver satisfaction without demanding hours in the kitchen. Undoubtedly, the beauty of these wraps lies in their adaptability – swap proteins, experiment with cheese blends, or add vegetables based on what your family enjoys or what’s available in your refrigerator.
These wraps work equally well whether you prepare them with fresh chicken or transform leftovers into something new and exciting. Additionally, the techniques shared here – like using garlic butter, proper filling amounts, and cooking methods – make the difference between good wraps and great ones your family will literally fight over.
Last but certainly not least, remember that these wraps offer more than just a quick meal solution. They provide a foundation for creativity in your kitchen while still delivering reliable results. The next time you face the “what’s for dinner” question with limited time, these cheesy garlic chicken wraps might just save the day. Your family will thank you – unless they’re too busy claiming the last wrap!
FAQs
Q1. How long does it take to make cheesy garlic chicken wraps? These delicious wraps can be prepared in about 25 minutes, making them perfect for busy weeknights.
Q2. Can I use leftover chicken for these wraps? Absolutely! Leftover rotisserie chicken works great and can save you even more time in preparation.
Q3. What’s the best way to make the wraps crispy? For extra crispiness, try using an air fryer. Cook at 400°F for about 6 minutes until golden and crispy.
Q4. Can I make these wraps vegetarian? Yes, you can easily swap the chicken for tofu, seitan, or chickpeas to create a delicious vegetarian version.
Q5. How can I prevent the wraps from becoming soggy? Don’t overfill the wraps and consider adding a layer of greens as a moisture barrier between wet ingredients and the tortilla.