The Baker’s Secret: Perfect Chocolate Cake with Raspberry Filling (Step-by-Step Guide)
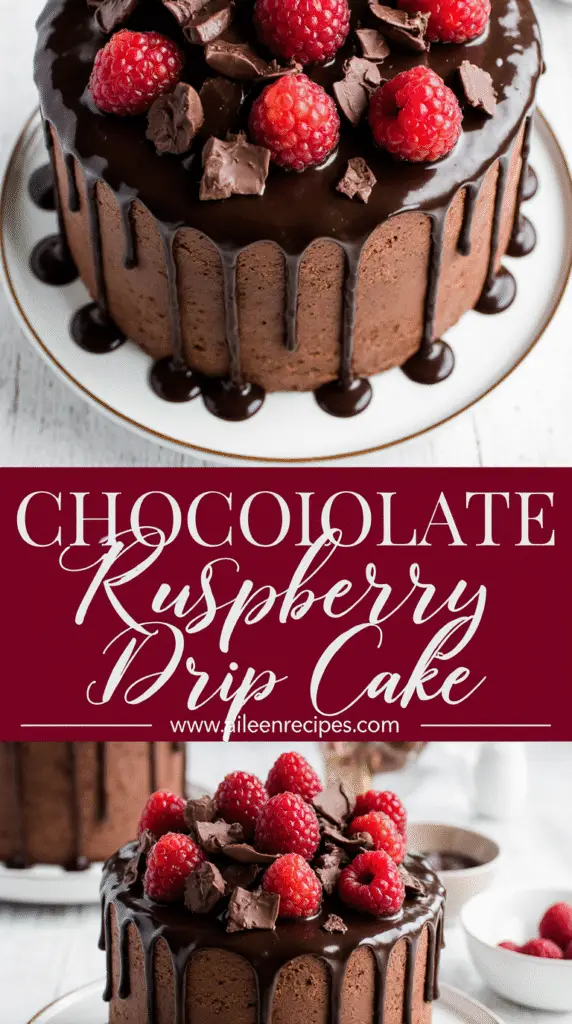
Chocolate cake with raspberry filling is undoubtedly one of the most decadent dessert combinations you’ll ever experience. The rich, moist chocolate layers perfectly complement the bright, tangy raspberry filling, creating a flavor profile that’s simply irresistible. After making this cake numerous times, I can confidently say it’s a showstopper that only looks complicated.
What makes this recipe truly special is how surprisingly simple it is to prepare. You’ll only need a bowl and a whisk to create super moist chocolate cake layers that are perfectly chocolatey. Additionally, the homemade raspberry filling adds a fresh, vibrant element that elevates this dessert beyond an ordinary chocolate cake. Whether you’re creating a raspberry chocolate layer cake or going all out with a luxurious chocolate raspberry ganache cake, the techniques I’ll share work beautifully for any variation.
Throughout this step-by-step guide, I’ll walk you through every stage of creating this ultra-moist cake packed with raspberry and chocolate flavor. From mixing the perfect chocolate batter to preparing a delicious raspberry filling that won’t overpower the delicate balance of flavors, you’ll learn all the baker’s secrets to create a professional-looking dessert. Though it might look like it came from a high-end bakery, this chocolate cake with raspberry filling recipe is accessible even for beginning bakers.
Gathering Your Ingredients and Tools
Before diving into the baking process, I recommend gathering all your ingredients and tools. This preparation step will make the entire baking experience smoother and more enjoyable.
Essential ingredients for the chocolate cake
The foundation of any excellent chocolate cake with raspberry filling starts with quality ingredients. For the cake layers, you’ll need all-purpose flour, granulated sugar, unsweetened cocoa powder, baking soda, baking powder, and salt for your dry ingredients. For the wet components, gather eggs (at room temperature), buttermilk, vegetable or canola oil, and vanilla extract. What makes this cake exceptionally moist is the addition of hot water or coffee—it enhances the chocolate flavor remarkably.
What you need for the raspberry filling
For a perfect raspberry filling, you’ll need about 3 cups (12 ounces or 340g) of raspberries—either fresh or frozen will work wonderfully. Additionally, prepare 1/3 cup granulated sugar, 1-2 tablespoons cornstarch, a small amount of water, and some lemon juice for brightness. To create that professional finish, you’ll also need vanilla extract to round out the flavors.
Buttercream and ganache components
The buttercream requires unsalted butter at room temperature, confectioners’ sugar, cocoa powder, heavy cream, salt, and vanilla extract. For the chocolate ganache drip, gather quality semi-sweet or bittersweet chocolate (preferably a baking bar, not chocolate chips), heavy cream, and optionally, a bit of corn syrup for shine.
Recommended baking tools and equipment
To create this spectacular dessert, several key tools are essential. First, you’ll need three 8-inch or 9-inch round cake pans lined with parchment paper. A stand mixer or hand mixer will make preparing the batter and frosting much easier. Other necessities include a digital scale for precision, offset spatulas for frosting, a bench scraper for smooth sides, and piping bags with tips (particularly important for creating a buttercream “dam” to hold the raspberry filling). Furthermore, a cake turntable, while optional, makes decorating significantly easier.
Step-by-Step: Making the Chocolate Cake
Now that we’ve gathered our ingredients, let’s start creating the perfect chocolate cake! The process is straightforward once you understand a few key techniques that professional bakers rely on.
Mixing the dry and wet ingredients
I always begin by sifting my dry ingredients together. This crucial step distributes the leavening agents evenly and breaks up cocoa powder clumps, resulting in a lighter, fluffier cake. Next, in a separate bowl, I combine the wet ingredients except for the hot coffee or water. Keeping these components separate initially is essential—it prevents clumping and ensures even distribution of ingredients.
When combining wet and dry mixtures, there’s debate about which should be added to which. However, most professional bakers recommend adding wet ingredients to dry because it’s neater and prevents flour from flying everywhere. The batter will initially appear thick, almost like brownie batter, until you add the hot liquid.
Why hot water or coffee enhances chocolate flavor
The secret to intensely flavored chocolate cake is adding hot liquid at the final mixing stage. Hot water or coffee serves two essential purposes: it “blooms” the cocoa powder, releasing deeper chocolate flavors, and it creates a thinner batter that bakes into a moist cake.
I personally recommend using coffee instead of water. Despite what some might think, coffee doesn’t make the cake taste like coffee—it simply enhances the chocolate flavor. For an even stronger chocolate taste, you can use double-strength brewed coffee or add 1-2 teaspoons of espresso powder to your dry ingredients.
Baking and cooling the cake layers
Pour the thin batter evenly into your prepared pans. Don’t worry about its liquid consistency—this is perfectly normal and will produce an exceptionally moist cake. Bake at 350°F for 30-35 minutes, or until a toothpick inserted in the center comes out clean and the top springs back when gently pressed.
After removing from the oven, let the cakes cool in their pans for about 10-15 minutes. Then run an offset spatula around the edges to loosen them. For faster cooling, place the pans in the freezer for about 45 minutes—this accelerates the process and makes the cakes easier to handle when it’s time for assembly.
Creating the Raspberry Filling and Buttercream
With our chocolate cake layers ready, it’s time to prepare the star components that will transform this dessert from good to extraordinary. The vibrant raspberry filling and complementary buttercream are what make a chocolate raspberry cake truly memorable.
How to make raspberry filling from fresh or frozen berries
The perfect raspberry filling starts with either fresh or frozen raspberries – both work wonderfully. I prefer frozen berries for their consistent quality and availability year-round. First, combine your raspberries (12 ounces/340g) with 1/3 cup sugar and a tablespoon of lemon juice in a medium saucepan over medium heat. The lemon juice balances the sweetness and brightens the berry flavor.
Once the mixture begins to simmer, use the back of a spoon to mash the berries as they soften. Subsequently, you’ll need to make a crucial decision – strain or not strain? For a silky-smooth filling without seeds, pass the mixture through a fine-mesh strainer. Return the strained mixture to the pan and continue cooking until thickened.
For proper thickening, make a cornstarch slurry (cornstarch mixed with water) and add it to the simmering raspberry mixture. Cook for another 15 seconds after it begins bubbling. The filling should coat the back of a spoon when ready. Allow it to cool completely before using – ideally chill it overnight for the best consistency.
Using freeze-dried raspberries for flavor and color
Freeze-dried raspberries are essentially a baker’s secret weapon. Unlike fresh berries, they add intense flavor without introducing excess moisture. For the most vibrant buttercream, pulverize freeze-dried raspberries in a food processor until they form a fine powder. Sift the powder to remove any larger pieces for the smoothest result.
This natural powder delivers both concentrated flavor and that gorgeous pink color without artificial dyes. Moreover, the freeze-drying process preserves the fruit’s nutrients while eliminating moisture that could compromise your frosting’s structure.
Making raspberry buttercream with perfect texture
For raspberry buttercream with ideal texture, start with room-temperature butter and beat until creamy (about 5 minutes). Gradually add powdered sugar one cup at a time, mixing on low speed between additions.
Once your buttercream base is smooth, incorporate the raspberry flavor. For fresh raspberry buttercream, add your cooled reduced raspberry sauce one tablespoon at a time. For freeze-dried raspberry buttercream, stir in the raspberry powder after all other ingredients are combined.
The key to perfect consistency is patience and careful addition of liquid. If your frosting becomes too thin, add more powdered sugar; if too thick, add a splash of heavy cream. Properly made raspberry buttercream can be refrigerated for up to one week or frozen for up to three months.
Assembling and Decorating the Cake
The assembly stage is where your chocolate raspberry cake truly comes together. This final phase requires patience, but yields impressive results worth the effort.
Leveling and stacking the cake layers
First of all, ensure your cake layers are completely cool before beginning assembly. Using a long serrated knife, trim off any domes from your cake layers to create flat surfaces. For extra precision, score around the edges where the dome meets the straight sides before cutting across. Place your first layer on a cake board with a small dollop of frosting underneath to act as “glue”. This foundation is crucial for stability as you build your cake.
Piping a dam and adding raspberry filling
In order to prevent your raspberry filling from oozing out, pipe a thick buttercream “dam” around the edge of each cake layer. This barrier is essential—fill a piping bag with buttercream and pipe a ring about ¼ inch inward from the edge. Once the dam is secure, spread a thin layer of buttercream across the base of the cake, followed by approximately ½ cup of raspberry filling inside the dam. Keep the filling layer thin (no more than ¼” thick) for best results.
Applying the crumb coat and final frosting
Prior to final decoration, apply a thin crumb coat—a light layer of frosting that seals in cake crumbs. Spread frosting thinly around the sides and top, smoothing with a bench scraper or offset spatula. Refrigerate for 20-30 minutes until the frosting feels firm to the touch. Subsequently, apply your final, thicker layer of frosting, creating smooth sides or textured designs as desired.
Making and applying the chocolate ganache drip
For a professional ganache drip, follow these key steps:
- Chill your frosted cake thoroughly
- Prepare ganache with the right chocolate-to-cream ratio
- Cool ganache to slightly above room temperature
- Test a single drip on the cake (or inverted glass) to check consistency
- Apply drips around the edge before filling the top
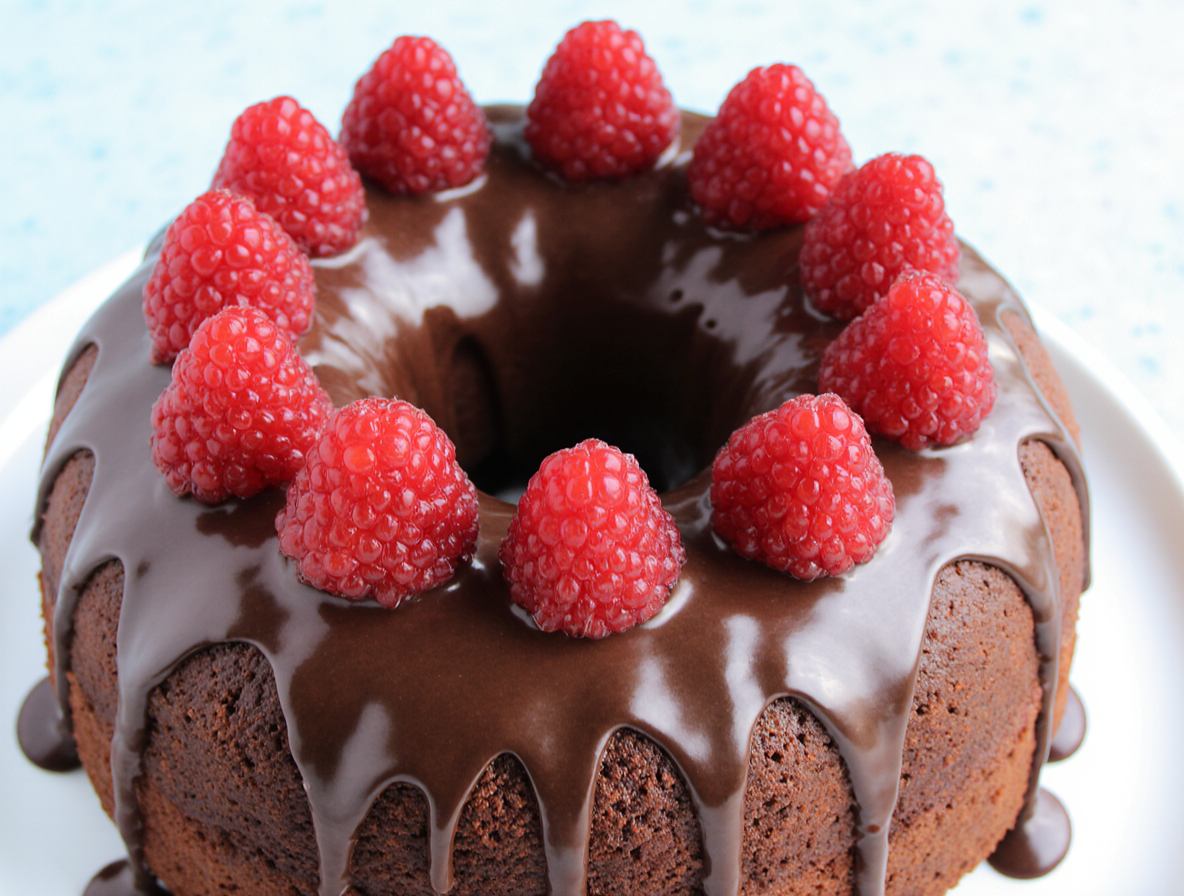
Decorating with fresh raspberries and chocolate shavings
Finally, fresh raspberries make an elegant topping, either arranged in a circle around the top edge or clustered in the center. Chocolate shavings pressed along the bottom edge add texture and sophistication. For extra visual impact, dust raspberries lightly with powdered sugar or pair them with piped buttercream dollops.
Conclusion
Making this chocolate cake with raspberry filling might seem like a challenge at first, but after following this step-by-step guide, you’ll discover just how achievable this professional-quality dessert truly is. The combination of moist chocolate cake layers, tangy raspberry filling, and smooth buttercream creates a dessert that will undoubtedly impress your family and friends.
Remember that the secret to this cake lies in the details. Hot coffee blooms the cocoa powder for deeper flavor, while the buttercream dam prevents the raspberry filling from escaping. Additionally, the careful balance between chocolate richness and raspberry brightness makes this cake stand out among ordinary desserts.
Though the process requires patience, especially during assembly and decoration, the final result makes every effort worthwhile. Whether you’re baking for a special celebration or simply treating yourself, this recipe delivers consistent, bakery-quality results.
Take your time with each step, particularly when creating the raspberry filling and applying the ganache drip. Furthermore, don’t hesitate to make components ahead of time—both the cake layers and filling can be prepared a day in advance, making the assembly process less overwhelming.
Armed with these baker’s secrets, you now have everything needed to create a chocolate raspberry masterpiece that tastes as magnificent as it looks. Therefore, gather your ingredients, preheat your oven, and prepare to amaze yourself with your baking abilities. The journey from simple ingredients to spectacular dessert is certainly one worth taking!
FAQs
Q1. How can I ensure my chocolate cake layers are moist? Add hot coffee or water to the batter as the final mixing step. This “blooms” the cocoa powder, enhancing the chocolate flavor and creating a thinner batter that bakes into a moist cake.
Q2. What’s the secret to preventing the raspberry filling from oozing out? Pipe a thick buttercream “dam” around the edge of each cake layer before adding the filling. This creates a barrier that keeps the raspberry filling in place.
Q3. Can I use frozen raspberries for the filling? Yes, both fresh and frozen raspberries work well for the filling. Frozen berries are often preferred for their consistent quality and year-round availability.
Q4. How do I achieve the perfect ganache drip? Chill your frosted cake thoroughly, prepare the ganache with the right chocolate-to-cream ratio, and cool it to slightly above room temperature. Test a single drip on the side of the cake to check consistency before applying it all around.
Q5. What’s the benefit of using freeze-dried raspberries in the buttercream? Freeze-dried raspberries add intense flavor and vibrant color to the buttercream without introducing excess moisture. They provide a concentrated raspberry taste without compromising the frosting’s structure.