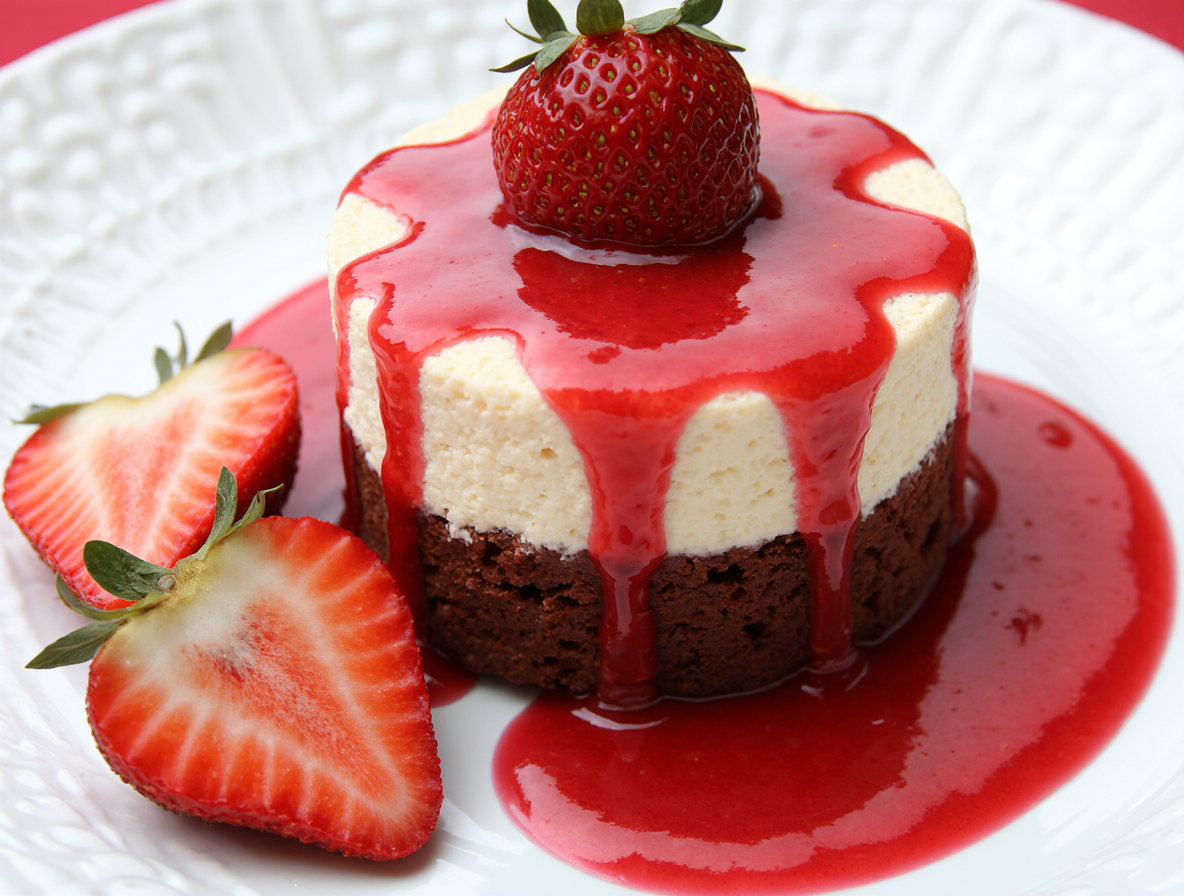
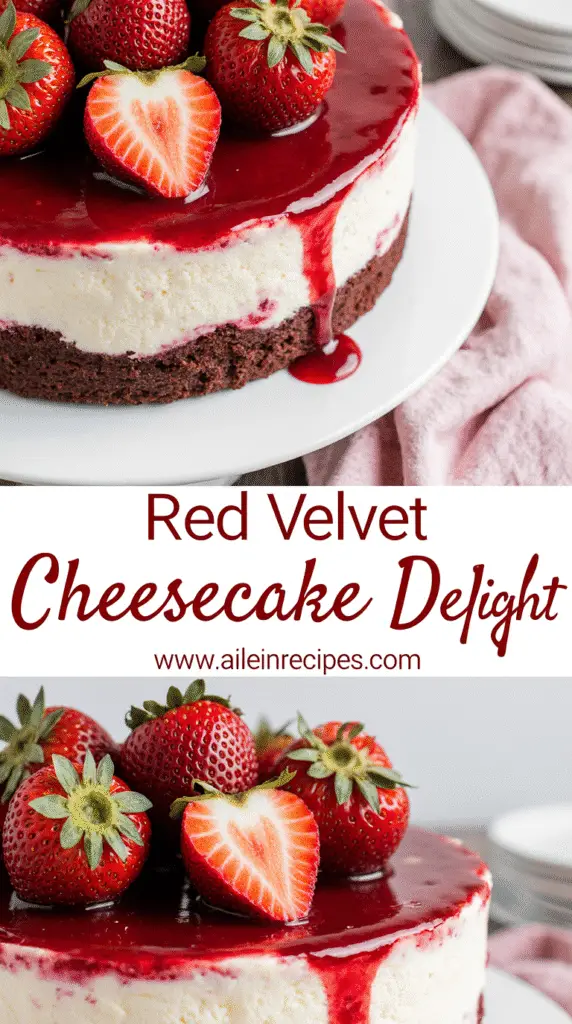
How to Make Red Velvet Cake with Strawberries: A Foolproof Guide
Did you know that red velvet cake with strawberries actually traces its roots back to the 1920s when the original red velvet cake was first served at the Waldorf-Astoria hotel in New York?
What’s even more surprising is that traditional red velvet cake is essentially a chocolate cake with red food coloring! While this decadent dessert contains approximately 820 calories per serving, the combination of rich red velvet cake and creamy strawberry cheesecake creates a visually stunning treat that’s certainly worth every bite.
In our foolproof guide to creating the perfect red velvet cake with strawberries recipe, we’ll show you how to achieve that perfect balance between the vibrant red velvet base and sweet strawberry filling. From selecting the freshest strawberries to mastering the art of layering, we’ve got you covered with step-by-step instructions on how to decorate red velvet cake with strawberries for a beautiful presentation and bright, fresh flavor.
Get ready to impress your guests with this show-stopping dessert that combines the best of two delicious worlds!
Gathering Ingredients and Tools
Before diving into the baking process for your red velvet cake with strawberries, gathering all the necessary ingredients and tools will make your experience much smoother. Let’s break down everything you’ll need to create this stunning dessert.
Essential ingredients for red velvet cake with strawberries
For the perfect red velvet cake with strawberries, you’ll need both standard cake ingredients and special components that give it its distinctive character:
- Dry ingredients: All-purpose flour (2½-3 cups), unsweetened cocoa powder (1½-2 tablespoons), baking soda (1 teaspoon), and salt
- Fats: Softened unsalted butter (½ cup), vegetable oil (1 cup) – using both creates a moist cake with buttery flavor
- Sweeteners and flavors: White sugar (1½ cups), vanilla extract, white vinegar (crucial for the cake’s tanginess)
- Wet ingredients: Buttermilk (1 cup), eggs (4-6 depending on recipe)
- Color agent: Red gel food coloring (avoid liquid food coloring as it requires too much liquid which affects texture)
- Frosting components: Cream cheese, butter, powdered sugar, and freeze-dried strawberry powder for the best strawberry flavor and color
Choosing the right strawberries for flavor and texture
The quality of strawberries can make or break your cake. First of all, look for berries with a distinctive shine, which indicates freshness and better flavor. Additionally, select strawberries that are bright red throughout with fresh-looking green tops.
For baking purposes, strawberries that are just slightly under-ripe work best. However, if fresh strawberries aren’t in season, frozen strawberries can work well in most baked goods since they’re picked at peak ripeness. When using frozen berries, you can add them directly from the freezer in most cases, but rinse them under cold water until it runs clear to reduce bleeding into your batter.
Tools you’ll need for baking and layering
To ensure your red velvet cake with strawberries turns out perfectly, gather these essential tools:
- Baking equipment: 8-inch or 9-inch round cake pans (at least 2), preferably 2 inches deep
- Mixing tools: Electric mixer (hand or stand), large and medium mixing bowls
- Measuring tools: Liquid measuring cups, dry measuring cups, measuring spoons, and ideally a digital food scale for precision
- Preparation and decorating: Sifter or sieve, silicon spatula, parchment paper, offset spatula for frosting, and cake turntable if available
With everything properly gathered, you’ll be fully prepared to create your showstopping red velvet cake with strawberries.
Making the Red Velvet Cake Base
The magic of red velvet cake with strawberries begins with creating the perfect cake base. Now that we have our ingredients ready, let’s dive into the baking process that will yield those signature red layers.
Mixing the dry and wet ingredients
First, prepare your baking pans by generously greasing them with shortening and lightly dusting with flour to prevent sticking. For the dry ingredients, sift together 2½ cups flour, 1 teaspoon baking soda, ½ teaspoon baking powder, 2 teaspoons cocoa powder, and 1 teaspoon salt in a medium bowl. Sifting removes lumps and helps create a softer cake crumb.
Meanwhile, in a large bowl, combine 1 cup vegetable oil, 1 cup buttermilk, 2 large eggs, 2 teaspoons vanilla extract, 1 teaspoon white vinegar, and 1 teaspoon red gel food coloring. Whisk thoroughly until the mixture is evenly colored. Then add 2 cups granulated sugar and whisk for 30 seconds to help dissolve it.
Subsequently, combine the wet and dry ingredients, adding the dry mixture to the wet in 2-3 additions, mixing on low speed just until incorporated. Remember, the batter should be smooth yet relatively thin.
Tips for achieving a moist and fluffy texture
To achieve that signature texture, always bring refrigerated ingredients to room temperature beforehand. Furthermore, properly measure your flour by spooning it into measuring cups rather than scooping directly, or better yet, use a kitchen scale for precision.
The secret to a fluffy cake lies in not overmixing once the flour is added – this prevents gluten development that would make your cake tough. Another key factor is using both butter and oil – this combination provides moisture and rich flavor.
Baking and cooling the cake layers
Pour the batter evenly into your prepared pans – using a scale helps ensure your layers bake uniformly. Bake in the middle rack at 350°F for approximately 25-30 minutes, or until a toothpick inserted comes out with a few moist crumbs (not wet batter).
Once baked, allow the cakes to cool in their pans for 10-15 minutes. Thereafter, carefully flip them onto a cooling rack to finish cooling completely. For easier handling during frosting, chill the layers in the freezer for about 20 minutes – this makes stacking and frosting much simpler.
Preparing the Strawberry Cheesecake Filling
The strawberry cheesecake filling gives your red velvet cake a creamy, fruity contrast that elevates this dessert to showstopper status. Let’s create this delectable layer that will complement your red velvet base perfectly.
Blending cream cheese and strawberry puree
For the perfect filling, start with room temperature cream cheese and beat until completely smooth. This prevents lumps in your final mixture. Next, incorporate confectioners’ sugar and fresh strawberry puree until well blended. Moreover, some recipes recommend adding a touch of lemon zest or vanilla extract to enhance the strawberry flavor.
Using gelatin or cornstarch for stability
To ensure your filling holds its shape, you’ll need a stabilizing agent. Gelatin works wonderfully in no-bake fillings – simply sprinkle it over cold water, let it bloom for 5 minutes, and gently heat until dissolved. Alternatively, cornstarch creates a stable filling that won’t run off the cake. For optimal results, mix cornstarch with water to create a slurry before adding it to your mixture.
Layering the cheesecake over the red velvet base
Once your red velvet cake has cooled completely, spread about 1/3 cup of filling over the bottom layer. Afterward, carefully arrange sliced strawberries around the edge and center. Finally, pour the remaining filling over the berries, ensuring it fills all gaps between them.
Finishing with Strawberry Topping and Decoration
The finishing touches of your red velvet cake with strawberries require attention to detail and proper technique. Let’s explore how to create that perfect final presentation.
How to make a glossy strawberry topping
A glossy strawberry topping adds both visual appeal and fresh flavor. In a medium saucepan, combine sliced strawberries, 1/3 cup sugar, and 1 tablespoon lemon juice. Bring to a boil over medium heat, allowing strawberries to release their juices naturally. Meanwhile, mix cornstarch with 2 tablespoons of cold water until a slurry forms. Pour this mixture into the simmering berries, stirring continuously until the sauce thickens and becomes glossy. For a chunky topping, mash some berries lightly; for smoother consistency, break up more berries as the sauce cooks.
How to decorate red velvet cake with strawberries
Once your cake is frosted, strategically place fresh strawberries between the layers. For the top, arrange halved strawberries with green tops intact around the edge of the cake. Consequently, pipe frosting stars or rosettes between the berries for an elegant finish. Red fruits like strawberries complement the cake’s interior color, creating a seamless design.
Chilling and setting the final cake
Wrap the decorated cake in plastic wrap and refrigerate at least 3 hours. Furthermore, chilling helps the frosting set firmly and allows flavors to meld together. The strawberry topping will thicken slightly during refrigeration; if it becomes too thick when serving, microwave for 10-15 seconds to thin it out.
Conclusion
Creating the perfect red velvet cake with strawberries certainly requires attention to detail, but the results are undeniably worth every effort. Throughout this guide, we’ve explored each step of the process, from selecting the freshest strawberries to achieving that perfect moist, fluffy texture in your cake layers.
The combination of rich red velvet with tangy cream cheese and sweet strawberries creates a dessert that stands out at any gathering. After all, this classic dessert has remained popular since the 1920s for good reason – it perfectly balances flavor, texture, and visual appeal.
Remember that patience plays a key role in the success of your cake. Therefore, allow proper cooling time between steps and give the assembled cake enough time to chill. This patience will be rewarded with clean slices and fully developed flavors when you finally serve your masterpiece.
Most importantly, don’t be afraid to make this recipe your own. You might try different decorating techniques or adjust the amount of strawberry filling based on your preferences. The basic techniques we’ve covered provide a solid foundation, but your personal touch will make the cake truly special.
We hope this foolproof guide helps you create a stunning red velvet cake with strawberries that becomes your signature dessert for special occasions. Happy baking!
FAQs
Q1. Is strawberry a good pairing with red velvet cake? Yes, strawberry and red velvet cake make an excellent flavor combination. The sweetness of the strawberries complements the subtle cocoa flavor of the red velvet cake, creating a delicious and visually appealing dessert.
Q2. Can fresh strawberries be added to the cake batter? While it’s possible to add fresh strawberries to some cake batters, it’s generally better to use them in the filling or as decoration. For red velvet cake with strawberries, it’s recommended to use strawberries in the cheesecake filling and as a topping rather than mixing them into the cake batter itself.
Q3. What are the key ingredients for a perfect red velvet cake? The secret to a great red velvet cake lies in using buttermilk, vinegar, and cocoa powder. These ingredients, along with the right balance of wet and dry components, contribute to the cake’s signature taste and texture. Using both butter and oil also helps achieve a moist and flavorful result.
Q4. How can I ensure my red velvet cake turns out moist and fluffy? To achieve a moist and fluffy texture, use room temperature ingredients, measure flour correctly, and avoid overmixing the batter. The combination of oil and butter also contributes to moisture retention. Additionally, using buttermilk and vinegar helps create a tender crumb.
Q5. What’s the best way to decorate a red velvet cake with strawberries? For an attractive presentation, place fresh strawberries between the cake layers and arrange halved strawberries around the edge of the frosted cake. You can also pipe frosting rosettes between the berries on top. A glossy strawberry topping made with fresh berries adds both visual appeal and flavor to the finished cake.


