Easy Christmas Cherry Bars Recipe

### **Introduction**
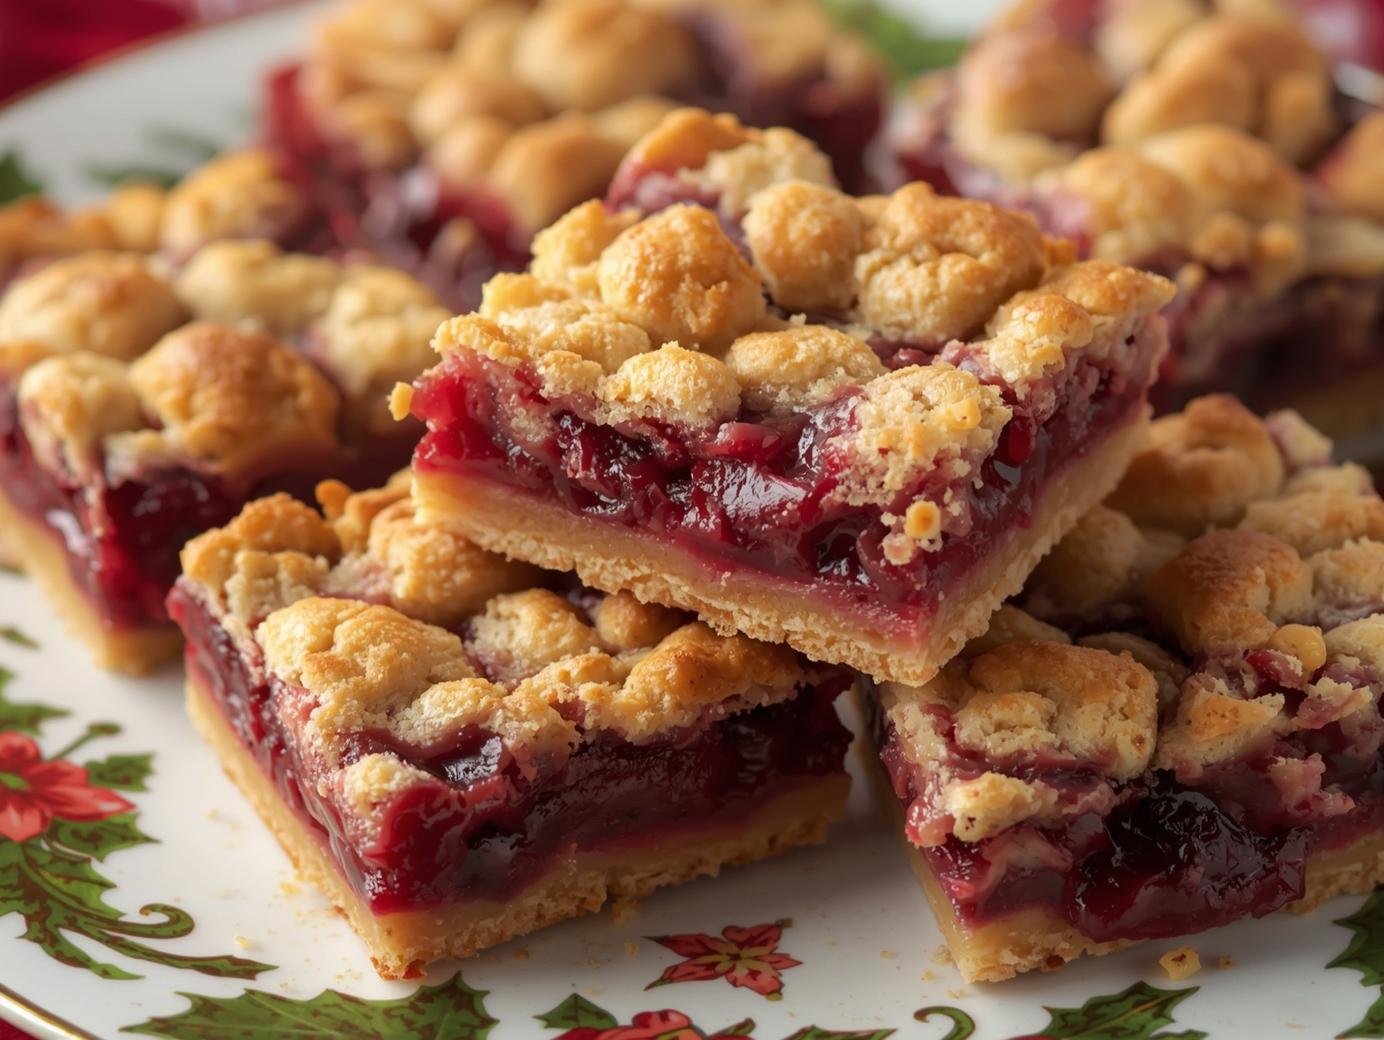
When the holiday season demands both festive flair and effortless preparation, these Easy Christmas Cherry Bars are the perfect answer. They are a nostalgic treat that combines a buttery, shortbread-like crust and crumble topping with a vibrant, sweet-tart cherry filling. The overall character is undeniably cheerful and comforting, offering a perfect balance of rich, crumbly texture and bright fruit flavor. Their brilliant red filling makes them a visually stunning addition to any holiday table, yet their simplicity is their true magic. Requiring no dough rolling or intricate decorating, these bars come together with minimal fuss, making them perfect for busy bakers who still want to deliver a show-stopping homemade dessert. If you love the flavor of cherry pie but want a fraction of the work, this recipe is for you.
**Perfect for:**
* Holiday cookie swaps and dessert platters.
* A last-minute, impressive potluck contribution.
* Festive neighbor and teacher gifts.
* A simple baking project with children.
* A sweet treat alongside afternoon coffee or tea.
### **Why You’ll Love This Easy Christmas Cherry Bars Recipe**
**Unbeatable Ease with Maximum Impact:** This is a true press-in crust recipe—no chilling, no rolling pins, no stress. The same mixture forms both the base and the crumbly topping, streamlining the process for a dessert that looks and tastes like you spent hours.
**The Perfect Sweet-Tart Balance:** The rich, buttery crust beautifully complements the bright, tangy cherry filling, preventing the bars from being overly sweet. This sophisticated balance makes them appealing to both children and adults.
**Sturdy and Portable:** Unlike delicate cookies or messy pies, these bars are designed to travel. They hold their shape perfectly, making them the ideal treat to package for gifts or transport to parties without worry.
**A Versatile Canvas:** While perfect with cherry, the simple base recipe is a launchpad for creativity. You can easily swap the fruit filling based on preference or what you have on hand, creating new favorites all year round.
### **Preparation and Cooking Time**
**Total Time:** 1 hour (plus cooling)
**Preparation Time:** 15 minutes
**Cooking Time:** 45 minutes
**Servings:** 24 bars
**Calories per serving:** Approximately 220-240 calories
**Nutritional Information (Per Bar – Estimate):**
* **Calories:** 230 kcal
* **Protein:** 2g
* **Carbohydrates:** 32g
* **Fat:** 11g
* **Fiber:** 1g
* **Sugar:** 18g
**Nutritional Disclaimer**
aileenrecipes is not a dietician or nutritionist, and any nutritional information shared is only an estimate. We recommend running the ingredients through an online nutritional calculator if you need to verify any information.
### **Ingredients**
**For the Crust and Topping:**
* 3 cups (375g) all-purpose flour
* 1 cup (200g) granulated sugar
* 1 teaspoon baking powder
* ¼ teaspoon salt
* 1 cup (2 sticks / 226g) cold unsalted butter, cubed
* 1 large egg, lightly beaten
* 1 teaspoon pure vanilla extract
**For the Cherry Filling:**
* 2 (21 oz / 600g total) cans cherry pie filling
* 1 tablespoon fresh lemon juice
* ½ teaspoon almond extract (optional, but recommended)
### **Step-by-Step Instructions**
**1. Prepare the Oven and Pan.**
Preheat your oven to 375°F (190°C). Grease a 9×13 inch metal baking pan or line it with parchment paper, leaving an overhang on two sides for easy removal.
**2. Make the Crust and Topping Mixture.**
In a large mixing bowl, whisk together the flour, sugar, baking powder, and salt. Using a pastry cutter, two forks, or your clean fingertips, cut the cold, cubed butter into the flour mixture until it resembles coarse, sandy crumbs with a few pea-sized pieces remaining.
**3. Bind the Dough.**
In a small bowl, whisk the beaten egg with the vanilla extract. Drizzle this mixture over the flour-butter crumbs. Use a fork or your hands to mix until the dough begins to clump together and no dry flour remains. It will be crumbly.
**4. Form the Crust.**
Set aside about 1 ½ cups of the crumb mixture for the topping. Press the remaining mixture firmly and evenly into the bottom of your prepared baking pan to create a solid crust layer.
**5. Prepare and Add the Filling.**
In a medium bowl, stir together the cherry pie filling, lemon juice, and almond extract (if using). Spread this cherry filling evenly over the pressed crust.
**6. Add the Topping and Bake.**
Sprinkle the reserved crumb mixture evenly over the cherry layer. Do not press it down. Bake in the preheated oven for 40-50 minutes, or until the topping is a light golden brown and the cherry filling is bubbling at the edges.
**7. Cool Completely.**
This is a critical step for clean cuts. Allow the pan to cool completely on a wire rack—at least 2 hours. For best results, you can then refrigerate the pan for 1 hour to further set the filling before slicing.
**8. Slice and Serve.**
Use a sharp knife to cut into 24 squares. Wipe the knife clean between cuts for neat bars.
### **How to Serve Easy Christmas Cherry Bars**
* **On a Holiday Dessert Tray:** Arrange bars on a platter with other cookies and treats for a beautiful, varied display.
* **As a Festive Dessert:** Serve slightly warmed or at room temperature with a scoop of vanilla ice cream or a dollop of freshly whipped cream.
* **For Gift-Giving:** Stack bars in a festive cookie tin or place them in clear treat bags tied with a ribbon for a lovely homemade gift.
* **With Afternoon Tea or Coffee:** Their sweet-tart flavor makes them an ideal companion to a hot beverage.
### **Additional Tips for Easy Christmas Cherry Bars**
* **Keep Ingredients Cold:** Using cold butter is essential for achieving a flaky, crumbly texture in the crust and topping.
* **Press the Crust Firmly:** Take your time to press the base layer firmly and evenly into the pan. This prevents a crumbly or sandy bottom.
* **Don’t Overbake:** The bars are done when the topping is just golden and the filling is bubbly. Overbaking can make the crust too hard.
* **Patience is Key:** Allow the bars to cool completely before cutting. Cutting them warm will result in a messy, gooey slice.
### **Recipe Variations of Easy Christmas Cherry Bars**
**Mixed Berry Christmas Bars:** Substitute the cherry pie filling with a high-quality mixed berry pie filling. Add a teaspoon of lemon zest to the filling for brightness.
**Apple Cinnamon Streusel Bars:** Use two cans of apple pie filling mixed with 1 teaspoon of ground cinnamon. Consider adding ½ cup of chopped pecans or walnuts to the crumb topping.
**Cranberry Orange Bars:** Use a whole-berry cranberry sauce (not jellied) mixed with the zest of one orange. The tangy cranberry paired with the sweet crust is a delightful combination.
### **Freezing and Storage for Easy Christmas Cherry Bars**
**Storage:** Store cooled bars in an airtight container at room temperature for up to 2 days. For longer storage, keep them in the refrigerator for up to 5 days.
**Freezing:** These bars freeze exceptionally well. Arrange completely cooled bars in a single layer on a baking sheet to flash freeze for 1 hour. Then, transfer them to a freezer-safe container or bag, separating layers with parchment paper. Freeze for up to 3 months. Thaw overnight in the refrigerator or at room temperature.
### **FAQ Section about Easy Christmas Cherry Bars**
**Q: Can I use homemade cherry pie filling?**
A: Absolutely. You will need about 4-5 cups of a thick, cooked cherry filling. Ensure it’s not too runny, or it may make the crust soggy.
**Q: Can I use frozen cherries?**
A: For best results with fresh/frozen fruit, you’d need to cook them down with sugar and a thickener (like cornstarch) first to create a proper filling consistency, similar to canned pie filling.
**Q: Why is my crust too crumbly and not holding together?**
A: The egg is the binder. Ensure it’s fully incorporated. If your dough seems too dry after adding the egg, you can add a teaspoon of cold water at a time until it clumps. Also, ensure you are pressing the base layer very firmly into the pan.
**Q: Can I make these bars ahead of time?**
A: Yes, they are an excellent make-ahead dessert. Bake, cool completely, and store in the refrigerator for up to 2 days before serving. The flavor often improves.
### **Conclusion of Easy Christmas Cherry Bars Recipe**
Easy Christmas Cherry Bars are the quintessential holiday dessert that delivers joy without the hassle. They capture the festive spirit in every bite, with their ruby-red filling and snow-dusted crumb topping offering a visual and flavorful celebration. This recipe proves that impressive, crowd-pleasing desserts don’t have to be complicated. With their foolproof method, sturdy nature for gifting, and delightful balance of flavors, these bars are destined to become a cherished part of your seasonal baking tradition. Whip up a batch this holiday and watch them bring smiles and sweet satisfaction to everyone at your table.