Southern Delight Banana Pudding Poke Cake
Introduction
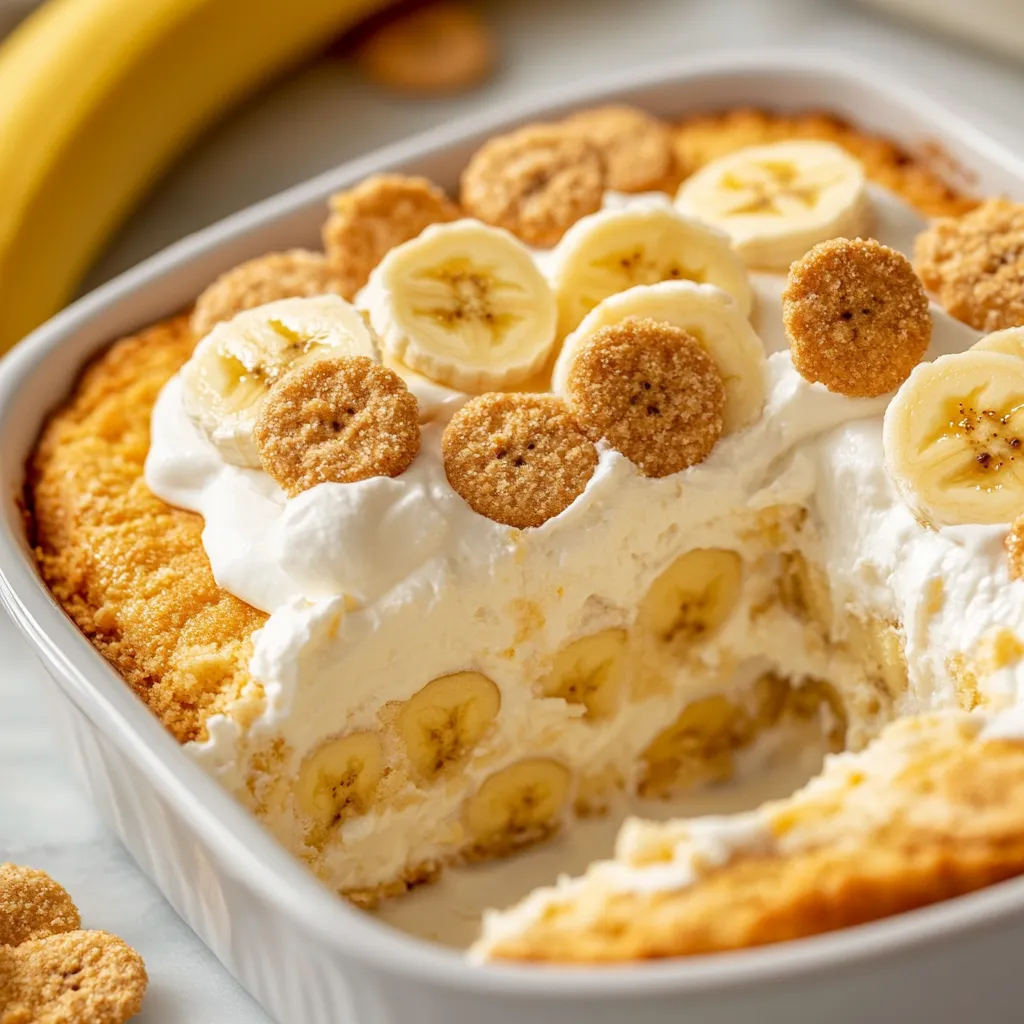
Exploring the rich flavors of Southern desserts can transport you to a warm kitchen filled with the comforting aroma of baked goods. One such delightful treat is the Banana Pudding Poke Cake, a chilled dessert that captures the essence of banana pudding and cake in one bite. This recipe combines a soft yellow cake with layers of creamy vanilla pudding, sweet bananas, and a light whipped topping to make a refreshing and indulgent dessert. Ideal for social gatherings or family dinners, it encapsulates the sweet simplicity of Southern cooking, making it a beloved option for those looking to share a slice of nostalgia.
The combination of moist cake and creamy pudding not only tantalizes the taste buds but also brings a sense of comfort that is synonymous with Southern hospitality. Whether served on a warm summer day or at a festive holiday gathering, this Banana Pudding Poke Cake is sure to become a favorite among friends and family. With its visually appealing layers and delightful flavor, it offers a satisfying contrast between the light whipped topping and the dense cake base, making each bite a journey through texture and taste.
Recipe Overview
– Total Time: 4 hours 50 minutes
– Prep Time: 20 minutes
– Servings: 12
– Difficulty: Not specified in the recipe
Banana Pudding Poke Cake is a moist and flavorful cake that utilizes simple ingredients and effortless techniques. Perfect for gatherings, potlucks, or family dinners, this dessert serves up to 12 and can be made in advance. The unique poke method allows the pudding to seep into the cake, ensuring every mouthful is infused with sweet, creamy goodness. By the time you’re ready to serve, each bite will explode with luscious banana and vanilla flavors, making it a hit at any event.
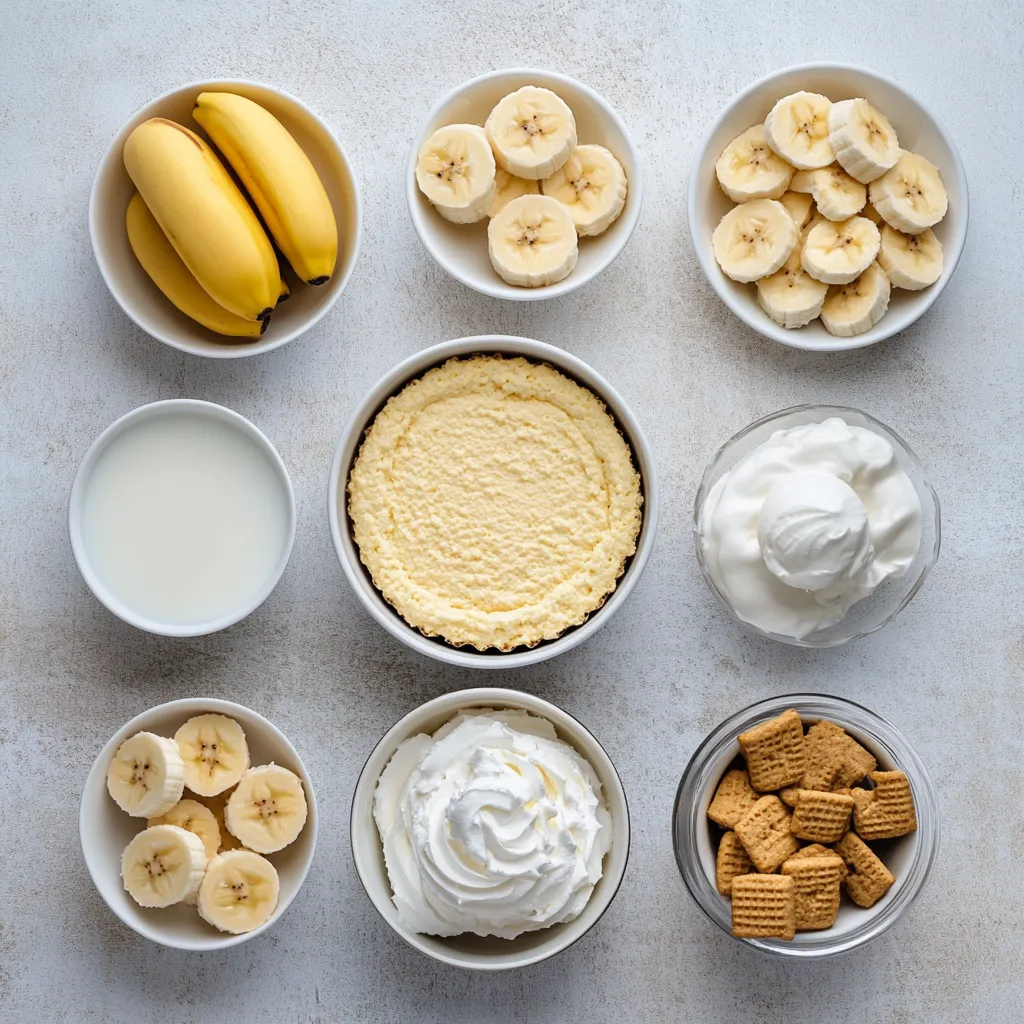
Ingredients
– 1 box (15.25 oz) yellow cake mix
– 3 large eggs
– 1 cup water
– 1 can (14 oz) sweetened condensed milk
– 1 box (3.4 oz) instant vanilla pudding mix
– 2 cups cold milk
– 1 teaspoon vanilla extract
– 2 large ripe bananas, sliced
– 1 container (8 oz) whipped topping (such as Cool Whip)
– Nilla Wafers, for garnish
– Additional banana slices, for garnish
Instructions
1. Begin by preheating your oven to 350°F (175°C). Prepare a 9×13-inch baking dish by greasing it lightly and dusting it with flour to prevent sticking.
2. In a large mixing bowl, combine the yellow cake mix, eggs, and water. Use an electric mixer on medium speed to blend the ingredients until the mixture is smooth and well combined, which should take about 2-3 minutes.
3. Pour the cake batter into the prepared baking dish, spreading it evenly. Bake in the preheated oven according to the package instructions, typically 25-30 minutes, or until a toothpick inserted into the center comes out clean.
4. Once the cake is baked, remove it from the oven and let it cool in the pan for approximately 10 minutes. This allows it to set slightly before you poke holes in it.
5. While the cake is cooling, take a fork or a skewer and carefully poke holes all over the top of the cake, spacing them about 1 inch apart to ensure the pudding mixture seeps in effectively.
6. In a separate bowl, whisk together the sweetened condensed milk, instant vanilla pudding mix, cold milk, and vanilla extract until the mixture is smooth and creamy, ensuring there are no lumps.
7. Gently pour the pudding mixture evenly over the cooled cake, making sure it fills all the holes you’ve poked. This will infuse the cake with delicious flavor.
8. Allow the cake to cool completely at room temperature. Once cooled, cover it with plastic wrap and place it in the refrigerator for at least 4 hours, or overnight for optimal flavor absorption.
9. Before serving, take the whipped topping and spread it evenly over the top of the cake, creating a smooth and inviting layer.
10. For a delightful presentation, decorate the cake with slices of fresh banana and a sprinkle of Nilla Wafers on top. Serve chilled and enjoy the delightful layers of flavor!
Equipment Needed
Baking Essentials
To craft this delicious dessert, having the right equipment is essential. You will need a 9×13-inch baking dish to bake the cake evenly and a reliable electric mixer to ensure your cake batter is mixed thoroughly. The electric mixer simplifies the process, whisking together your ingredients to create a smooth and homogenous mixture. Mixing bowls will serve as your workspace for combining ingredients and preparing the pudding mixture.
Cooling Tools
Once your cake is baked, you’ll need a cooling tool. A fork or skewer is crucial for poking holes in the cake, allowing the pudding to seep into every delicious layer. After the holes are poked and the pudding poured, make sure to cover the cake effectively with plastic wrap before transferring it to the refrigerator for chilling. This will seal in moisture and enhance the flavor as it absorbs overnight.
Preparing the Cake Batter
Prepping the Baking Dish
Prepping your baking dish correctly is one of the essential steps for achieving a successful cake. Lightly greasing and dusting the dish with flour will create a non-stick surface, allowing for easy removal once the cake has baked. This step is crucial as it prevents any sticking, which can ruin the aesthetic of your finished cake.
Mixing the Cake Ingredients
The mixing process for the cake batter plays a significant role in determining the texture of your cake. Start by combining the yellow cake mix, eggs, and water in your large mixing bowl. Using an electric mixer, beat these ingredients on medium speed until the mixture becomes smooth and well blended—this typically takes about 2-3 minutes. This thorough mixing ensures that the ingredients are fully incorporated, resulting in a tender and fluffy cake.
Baking the Cake
Setting the Oven Temperature
Setting the right oven temperature is critical for baking success. Preheat your oven to 350°F (175°C), which is an ideal temperature for baking a yellow cake. Even heat distribution at this temperature promotes even rising of the cake, ensuring a uniform texture throughout.
Baking Time and Testing for Doneness
It’s essential to follow the package instructions for baking time, which generally ranges from 25-30 minutes. To check if your cake is ready, insert a toothpick into the center of the cake; if it comes out clean, your cake is done. This crucial testing step helps prevent over-baking, which can lead to a dry final product.
Tools Needed
To create the Southern Delight: Banana Pudding Poke Cake successfully, you will require a few essential tools. A large mixing bowl is crucial for combining the cake ingredients efficiently. An electric mixer will make the mixing process seamless, ensuring a well-blended batter. For the poking stage, a fork or skewer is needed to create holes in the cake, allowing the pudding mixture to seep in properly. Lastly, a spatula will be beneficial for spreading the whipped topping evenly across the cake.
Spacing and Technique for Even Soaking
The technique used to poke holes in the cake is important for achieving optimal flavor infusion. When the cake is cooled slightly, you must create evenly spaced holes approximately 1 inch apart, reaching deep into the cake without compromising its structural integrity. You can use a fork or skewer to do this with care. Proper spacing ensures that the pudding mixture saturates the cake uniformly, enhancing the overall flavor and texture.
Making the Pudding Mixture
Ingredients for the Pudding Layer
The pudding mixture is essential for the rich flavor and creaminess of the cake. Begin with sweetened condensed milk, which provides sweetness and moisture. A box of instant vanilla pudding mix plays a dual role, thickening the mixture while imparting a luscious vanilla flavor. Using cold milk (preferably two cups) ensures the pudding sets correctly, achieving the desired thickness and consistency.
Combining Sweetened Condensed Milk and Vanilla Pudding Mix
In a large mixing bowl, thoroughly combine the sweetened condensed milk and instant vanilla pudding mix. Stir gently at first to incorporate the dried mix, then gradually add cold milk while whisking. This step is vital to prevent clumping and create a smooth base for the pudding. The goal is to get a homogenous mixture that is rich and creamy.
Importance of Cold Milk for the Right Consistency
Using cold milk is essential; it not only helps the pudding to thicken promptly but also ensures a velvety texture that will contrast beautifully with the light and fluffy cake. Room temperature milk may not provide the same consistency, leading to a runnier pudding layer rather than a firm but creamy amalgamation.
Whisking Techniques
Ensuring Lump-Free Pudding
An effective whisking technique is key to achieving a lump-free pudding. Start by whisking the dry ingredients with the wet ingredients gently to avoid clumping. Incorporate a circular motion and gradually increase your speed as the ingredients blend. Make sure to scrape down the sides of the bowl often to ensure all the mixture is integrated. This thorough blending results in a smooth pudding layer crucial for a successful poke cake.
Creating a Smooth and Creamy Texture
The process of whisking should continue until the pudding mixture thickens — typically around two minutes. The mixture should glide off the whisk in a silky manner, marking the time to proceed with pouring it over the cake. An adequately whisked pudding holds its shape when spread and ensures a delightful mouthfeel when served.
Assembling the Cake
Infusing the Cake with Pudding
Once the holes have been made in the cooled cake, it’s time to infuse it with flavor. Carefully pour the pudding mixture over the entire surface of the cake, allowing it to trickle into the holes. Use a spatula to ensure even distribution, helping the pudding fill each hole completely. This step is crucial, as it guarantees that every slice will deliver a burst of flavor.
Filling the Holes for Maximum Flavor
To optimize the flavor absorption, ensure that the pudding mixture is filling the holes rather than just sitting on top. Gently press a spatula or the back of a spoon into the cake’s surface to encourage the pudding to seep into the cake further. Making sure that each hole is filled will result in a moist cake that bursts with flavor in every bite.
Cooling and Refrigerating
Timing for Flavor Absorption
After assembling the cake with the pudding layer, allow it to cool completely at room temperature before refrigeration. This cooling period typically takes about 30 minutes. Once cooled, cover it with plastic wrap to seal in the moisture, then refrigerate for at least 4 hours. However, for optimal taste, it’s recommended to let it sit overnight. This waiting period allows the flavors to meld beautifully, resulting in a richer dessert.
Effect of Overnight Refrigeration on Taste
Refrigerating the cake overnight is beneficial not only for flavor absorption but also for enhancing the overall texture of the pudding layer. The chilling process firms up the pudding slightly, ensuring a luscious and cohesive filling that complements the soft cake. When ready to serve, your cake will have a satisfying, balanced texture, making each bite delightful.
Adding the Topping
Spreading the Whipped Topping
To create a pleasing presentation, spreading the whipped topping evenly over the cake is vital. Use a spatula or the back of a large spoon to apply the whipped topping generously but smoothly. Start from the center and gently push it to the edges, allowing for a lovely finish. Aim for a thickness that covers the pudding layer entirely, enhancing both flavor and appearance.
Importance of Presentation for Desserts
The visual appeal of a dessert can often be as significant as its taste. A well-spread layer of whipped topping not only improves texture but invites guests to dive into the dessert. A neat, smooth surface indicates care and invites anticipation of the deliciousness beneath.
Final Garnishing Touches
Decorating with Banana Slices
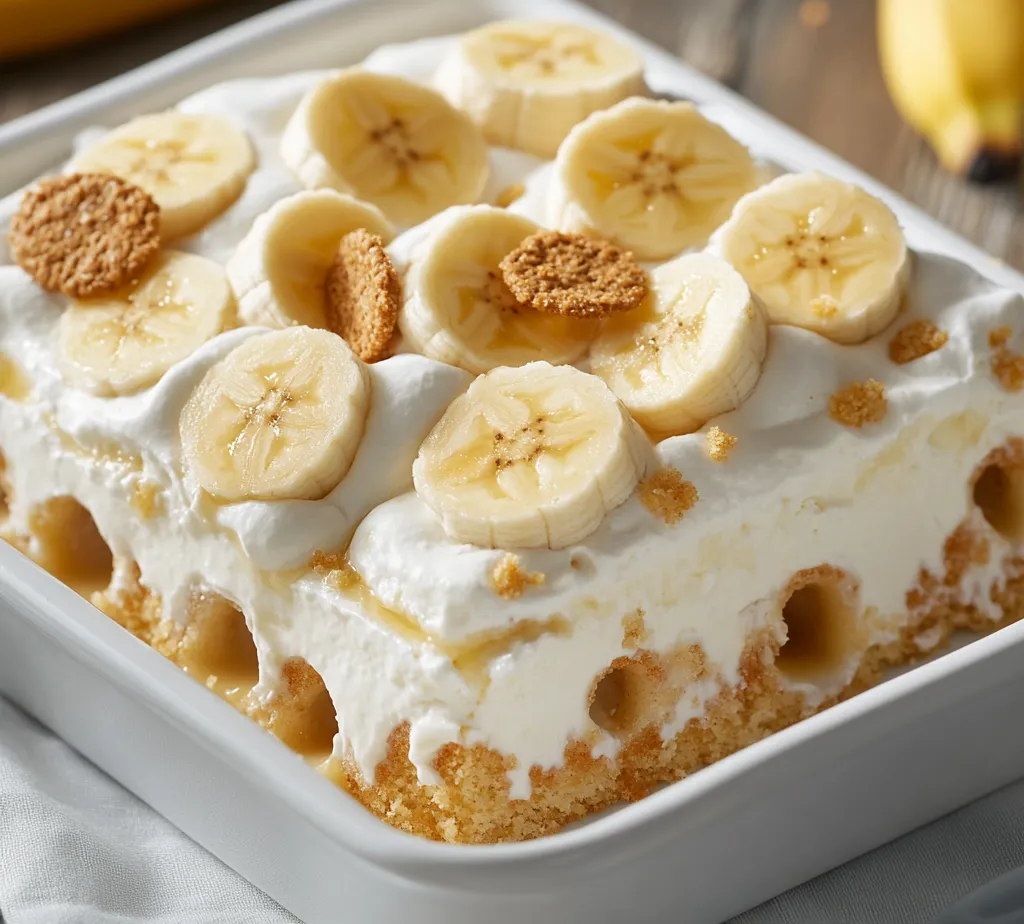
For an elegant finish, garnish the top of the cake with banana slices. Arrange the slices evenly to create an inviting look that also hints at the flavors within. Not only do banana slices enhance the visual appeal, but they also reinforce the cake’s overall theme, bringing a fresh element to each serving.
Sprinkling Nilla Wafers for Crunch
To add a hint of crunch, sprinkle crushed Nilla Wafers over the topping. The textural contrast between the creamy pudding, fluffy cake, and crunchy wafers elevates the experience, making each bite a medley of flavors and textures. For an additional decorative touch, place a few whole Nilla Wafers around the edge of the cake.
Serving Suggestions
Best Practices for Chilling
Prior to serving, make sure the Banana Pudding Poke Cake has chilled adequately. It is best served cold, allowing the pudding layer and whipped topping to remain firm. If prepared ahead of time, aim for at least 4 hours in the refrigerator for the best flavor. If time allows, overnight cooling will elevate the richness and flavor.
Serving Temperature Preferences
Most guests will prefer this dessert served chilled, as the combination of flavors shines when cold. Consider cutting the cake into square portions for ease of serving. Each slice should provide a delectable bite of cake, pudding, and whipped topping.
Presentation Ideas
Creative Plating Options
For a professional touch, try placing a portion of the cake on a clean dessert plate. You could drizzle a bit of caramel or chocolate sauce on the plate for added flair, juxtaposing the sleek lines of the cake against the sauce’s contrast. Consider serving alongside a dollop of whipped cream or alongside a scoop of vanilla ice cream for a delightful side treat.
Using Mint or Additional Nilla Wafers for Color
A sprig of fresh mint can not only add a hint of refreshing color contrast on the plate but also provide a light herbal note to each bite. Arranging some whole Nilla Wafers alongside the cake can elevate the aesthetic and reinforce the dessert theme while offering an additional crunchy element.
Variations and Customizations
Flavor Alternatives
While this recipe highlights banana, there’s room for creativity. Consider experimenting with different fruits like strawberries, peaches, or even a mixed berry blend for a more refreshing take. Incorporating flavors like coconut or almond extract into the cake mix could also offer lovely variations while keeping the essence of a poke cake intact.
Gluten-Free Options
For those requiring gluten-free alternatives, look for brands that offer gluten-free yellow cake mix. Check the labels for ingredients in the pudding mix and whipped topping, ensuring that they comply with gluten-free standards. Adjusting cooking times may also be necessary, as these mixes sometimes require different handling.
Storing the Cake
Refrigeration Guidelines
To maintain the freshness of the Banana Pudding Poke Cake, store it in the refrigerator in an airtight container. Proper storage allows it to last for 3 to 5 days while retaining its texture and flavor. If covered with plastic wrap, ensure it is well-sealed to prevent any absorption of other odors from the fridge.
Best Practices for Keeping the Cake Fresh
Avoid cutting into the cake until you are ready to serve to minimize exposure to air, which can lead to drying out. If you have a large portion remaining, cut it into individual slices and wrap them separately for ease of serving later.
Freezing Options
Can You Freeze the Cake?
It is not recommended to freeze the entire Banana Pudding Poke Cake due to the potential texture change in the pudding and whipped topping once thawed. Freezing could lead to separation and undesirable consistency of these layers.
Tips for Successful Thawing and Serving Later
If you need to freeze leftover portions, ensure they are wrapped tightly in plastic wrap and placed in a suitable container. When ready to use, allow the pieces to thaw in the refrigerator overnight rather than at room temperature to maintain the best texture. Consume within a couple of days of thawing for the best experience.
Conclusion
The Southern Delight: Banana Pudding Poke Cake combines the sweet, rich flavors of bananas with the creamy pudding layer and light vanilla cake. This dessert is both indulgent and refreshing, perfect for various occasions, with a preparation time of merely 20 minutes, although patience is rewarded with the recommended refrigeration period for optimal flavor absorption. Each bite is a delightful treat that is both moist and creamy, bringing joy to your dessert table.

Southern Delight Banana Pudding Poke Cake
Ingredients
- 1 box yellow cake mix
- 3 large eggs
- 1 cup water
- 1 can sweetened condensed milk
- 1 box instant vanilla pudding mix
- 2 cups cold milk
- 1 teaspoon vanilla extract
- 2 large ripe bananas sliced
- 1 container whipped topping
- Nilla Wafers for garnish
- Additional banana slices for garnish
Instructions
- Preheat the oven to 350°F (175°C) and prepare a 9x13-inch baking dish.
- In a large bowl, mix the yellow cake mix, eggs, and water until smooth.
- Pour the batter into the baking dish and bake for 25-30 minutes until a toothpick comes out clean.
- Let the cake cool in the pan for 10 minutes, then poke holes in it with a fork.
- In a separate bowl, whisk together the sweetened condensed milk, pudding mix, cold milk, and vanilla extract until smooth.
- Pour the pudding mixture over the cooled cake, filling the holes.
- Allow the cake to cool completely, then refrigerate for at least 4 hours or overnight.
- Spread whipped topping over the cake before serving.
- Garnish with banana slices and Nilla Wafers before serving.
- Serve chilled and enjoy!