Pizza Party Extravaganza Recipe
Introduction
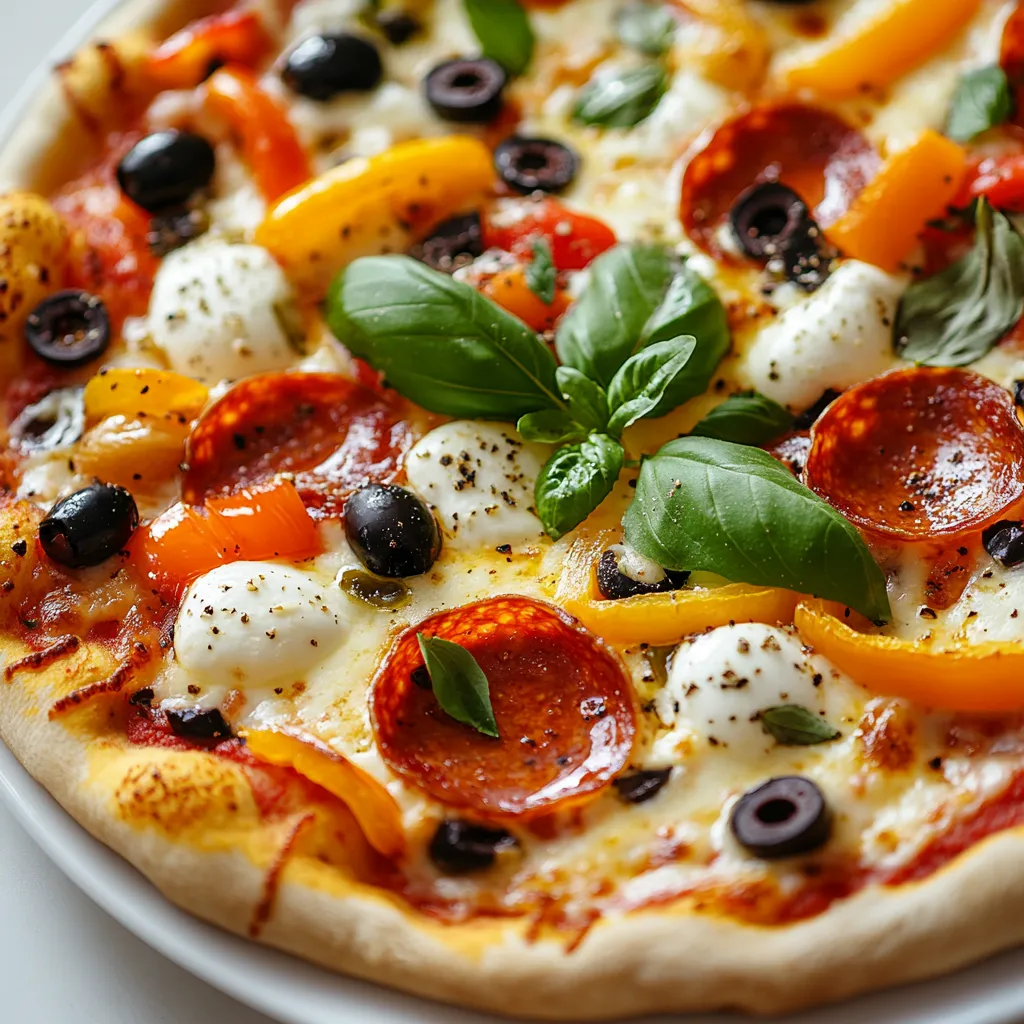
Pizza has earned its place as one of the most beloved comfort foods around the world. With its combination of a savory base, gooey cheese, and endless topping possibilities, pizza can cater to virtually every taste preference. Whether you’re a devoted cheese lover or prefer a medley of fresh vegetables, making pizza at home allows you to fully customize your creation, ensuring it’s just how you like it.
Hosting a pizza party is a fantastic way to bring family and friends together. The playful yet simple concept of creating pizzas as a group encourages interaction, creativity, and, of course, deliciousness. Each guest can pile on their favorite toppings, making it a unique culinary experience. Homemade pizza not only satisfies your cravings but also elevates any gathering into an unforgettable event.
With this Pizza Party Extravaganza recipe, you can enjoy the satisfaction of crafting a pizza from scratch using fundamental ingredients, resulting in a crispy crust, mouthwatering cheese, and an array of toppings that will please your guests.
Recipe Overview
– Total Time: 1 hour
– Prep Time: 15 minutes
– Servings: 4-6
– Difficulty: Not specified in the recipe
This homemade pizza recipe is not just versatile in terms of toppings but also relatively quick, allowing you to whip up a delightful meal suitable for any occasion. The uncomplicated nature of this recipe makes it ideal for both novice cooks and seasoned chefs alike, serving as a delightful introduction to pizza-making or as a fun activity for a larger gathering.
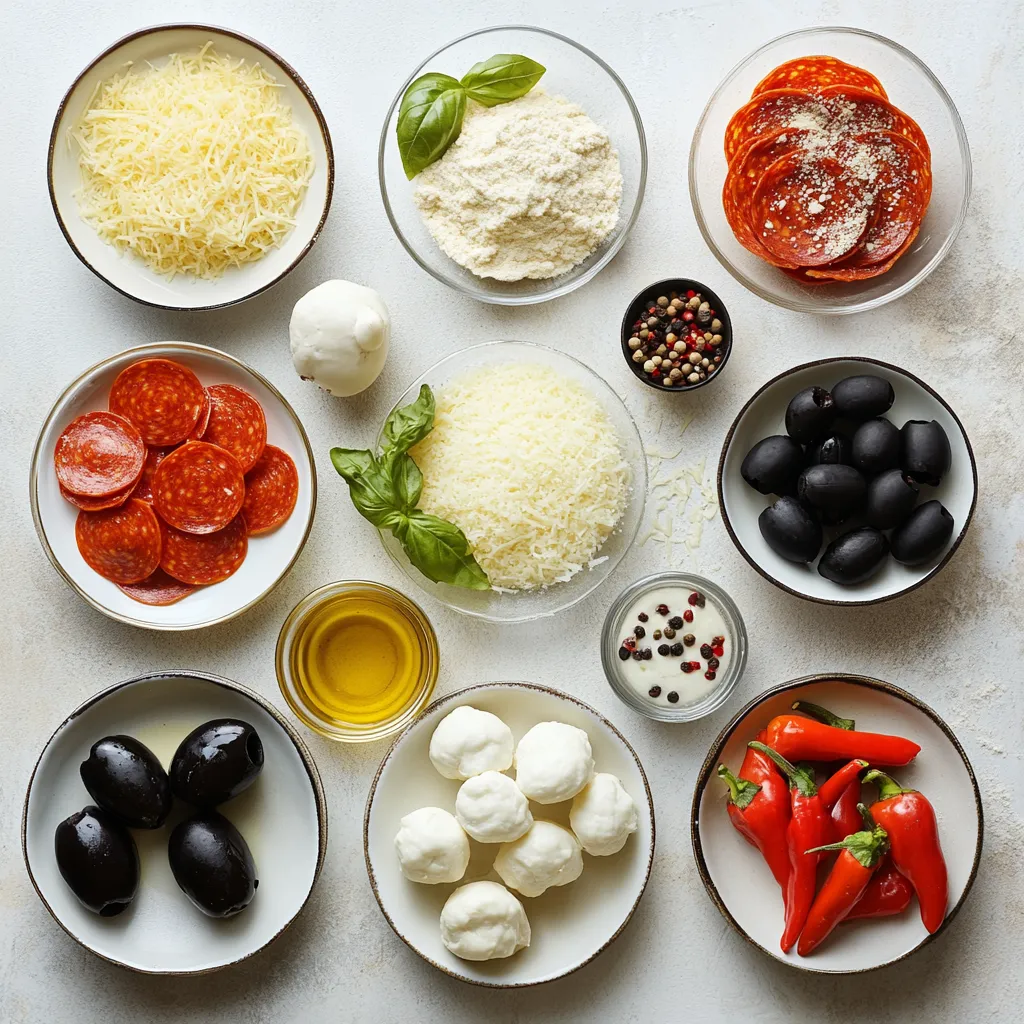
Ingredients
– 2 cups all-purpose flour
– 1 packet (2 1/4 tsp) instant yeast
– 1 tsp granulated sugar
– 1 tsp salt
– 3/4 cup warm water (approximately 110°F)
– 1 tbsp extra virgin olive oil
– 1 cup pizza sauce (store-bought or homemade)
– 2 cups shredded mozzarella cheese
– 1/2 cup sliced pepperoni
– 1/2 cup assorted sliced bell peppers (any color)
– 1/4 cup sliced black olives
– 1/4 cup grated Parmesan cheese
– Fresh basil leaves for garnish
– Red pepper flakes for added heat (optional)
The quality and freshness of the ingredients used can significantly enhance the overall flavor profile of the pizza. When selecting your toppings, consider using fresh vegetables and quality cheeses to achieve an authentic taste. Not specified in the recipe are any alternative toppings or potential substitutions; feel free to be creative with what you have on hand.
Instructions
1. Prepare the Dough: In a spacious mixing bowl, combine the all-purpose flour, instant yeast, granulated sugar, and salt. Stir well to ensure even distribution of the dry ingredients. Gradually pour in the warm water and olive oil, mixing until a cohesive dough begins to form.
2. Knead the Dough: Transfer the dough onto a lightly floured surface. Knead the dough for about 5–7 minutes, or until it becomes smooth and elastic. Once kneaded, place the dough in a lightly greased bowl, cover it with a clean kitchen towel, and allow it to rise in a warm location for approximately 30 minutes, or until it has doubled in size.
3. Preheat the Oven: While the dough is rising, preheat your oven to 475°F (245°C). If you have a pizza stone, place it in the oven to heat up, or alternatively, prepare a baking sheet.
4. Shape the Pizza: After the dough has risen, gently punch it down to release any air bubbles. Roll the dough out on a floured surface to your desired thickness, aiming for a diameter of about 12–14 inches. For easier transfer, place the rolled-out dough onto a piece of parchment paper.
5. Add the Sauce and Toppings: Spread the pizza sauce evenly over the surface of the dough, making sure to leave a small border around the edges. Generously sprinkle the shredded mozzarella cheese on top, followed by an even distribution of pepperoni, sliced bell peppers, and black olives. Finally, add a sprinkle of grated Parmesan cheese for an extra layer of flavor.
6. Bake the Pizza: Carefully slide the pizza (with the parchment paper) onto the preheated pizza stone or baking sheet. Bake for 12–15 minutes, or until the crust is golden brown and the cheese is melted and bubbling.
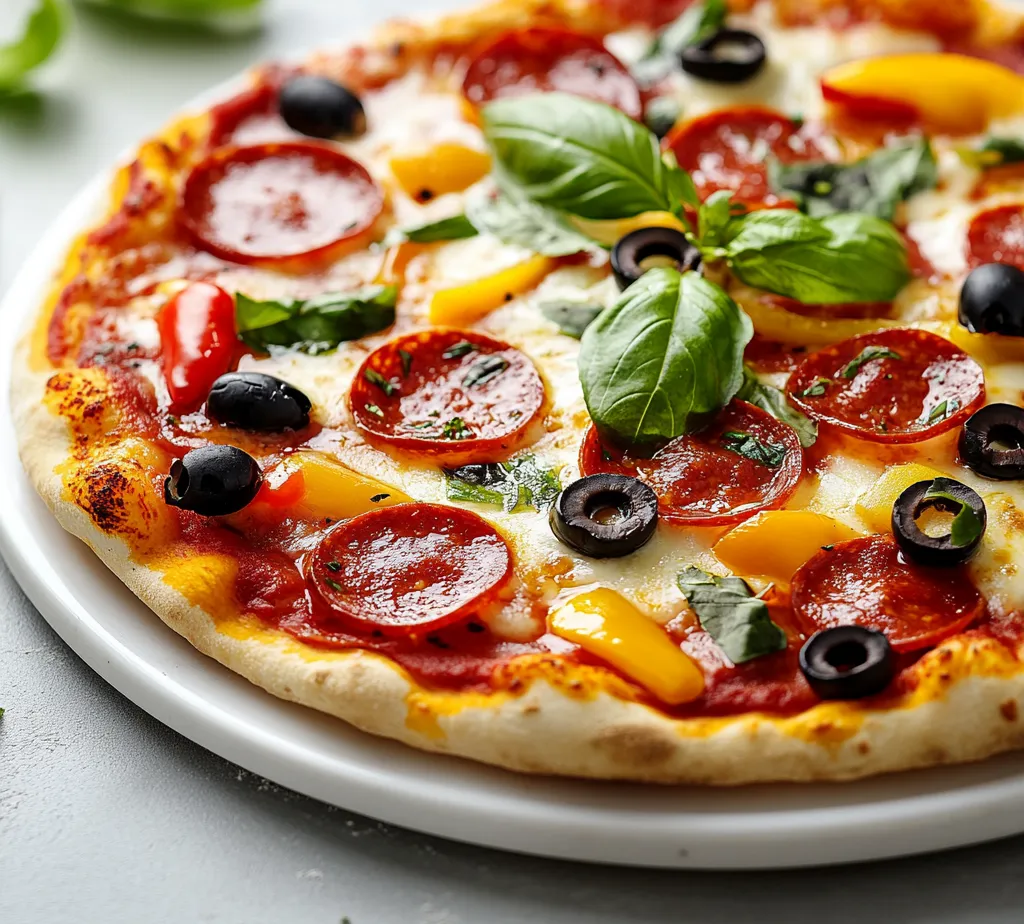
7. Garnish and Serve: Once baked, remove the pizza from the oven and let it cool for a few minutes. Garnish with fresh basil leaves and, if desired, a sprinkle of red pepper flakes for a touch of heat. Slice the pizza into wedges and serve hot for an unforgettable pizza party experience!
Preparing the Dough
Combining Dry Ingredients
The foundation of a great pizza starts with the dough, made from flour, instant yeast, granulated sugar, and salt. Begin by measuring these dry ingredients accurately, as the right proportions are crucial for creating a well-risen crust. Mixing them together in a spacious bowl ensures that the yeast is evenly distributed throughout the dough.
Accurate measurement and proper mixing are essential here; each dry ingredient plays a role: flour provides structure, yeast helps it rise, sugar feeds the yeast, while salt strengthens the dough and enhances flavor. Once combined, the gradual addition of liquid ingredients will bring your pizza crust to life.
Adding Wet Ingredients
The next step involves bringing the dough together by gradually adding warm water and olive oil to the dry mixture. The warm water helps to activate the yeast, leading to a successful rise. It’s vital to pour the water slowly while stirring, ensuring a cohesive mixture forms without clumps of flour remaining.
Achieving the right dough consistency is key; the resulting dough should be slightly tacky but not overly sticky. If it feels too sticky, a little more flour can be sprinkled in. After the dough forms a ball, kneading it will enhance its elasticity and strength, preparing it for a satisfying texture once baked.
Kneading the Dough
Techniques for Effective Kneading
Kneading is a critical process in pizza dough preparation, lasting about 5–7 minutes. Turn the dough onto a floured surface, using the heels of your hands to push it down and away from you, then fold it over towards you. Repeat this process thoroughly in a rhythmic fashion to develop gluten, which gives the dough its desirable chewy texture.
A smooth and elastic dough is the goal; if the dough springs back when pressed, this indicates good gluten development. Kneading should yield a dough that feels soft and pliable. To check if it’s ready for the rise, perform the windowpane test: stretch a small piece of dough. If it doesn’t tear easily and can stretch thin enough to let light through, you are on the right track.
Dough Rise Process
Once kneaded, the dough must rise in a warm place. Transfer it to a lightly greased bowl, cover it with a clean kitchen towel, and let it sit undisturbed. The perfect environment for rising is warm and draft-free, typically about 70°F to 80°F. The dough should be left to rise until it doubles in size, which could take approximately 30 minutes.
To see if your dough is adequately risen, gently press your finger into the surface. If the indentation remains without bouncing back, it’s ready to be punched down and shaped into a crust. This process not only allows for better aeration of the dough but also makes it easier to shape and stretch into your desired pizza form.
Importance of Maintaining the Shape of the Dough
The shape of the pizza dough is crucial for achieving the desired texture and crust. A well-shaped dough not only contributes to aesthetics but also affects how the pizza bakes. When rolling the dough, it’s important to maintain an even thickness. If the dough is too thick, the inside may remain doughy while the outside becomes overcooked. Conversely, if too thin, it can become overly crispy or even burn. Keeping the dough in a circular shape helps ensure even cooking, which is why using a rolling pin in a gentle manner can help maintain this shape.
Adding Sauce and Toppings
Sauce Application Techniques
Creating an unforgettable pizza starts with the sauce. For an even spread, use the back of a spoon to dollop the sauce onto the surface, then gently spread it outward in a circular motion. Make sure the sauce layer is not excessively thick, as it could lead to a soggy crust. The border of crust left untouched by sauce is equally important—it ensures the crust has room to rise and develops a golden texture during baking. This delicate balance between sauce and crust borders is essential for achieving that satisfying, crunchy bite.
Choosing Your Toppings
The versatility of toppings makes pizza an ever-adaptable dish. While pepperoni and bell peppers are classic choices, consider varying them with ingredients such as mushrooms, spinach, or banana peppers for a twist. Customization according to dietary preferences is crucial: for vegan lifestyles, substitute cheese with a plant-based alternative; for gluten-free needs, opt for gluten-free flour while preparing the dough. Always ensure that your toppings complement each other—balancing heavier meats with lighter vegetables can lead to a more enjoyable pizza.
Cheese and Final Touches
Layering different types of cheese can add depth to the flavor profile of your pizza. While the mozzarella provides that classic creamy stretch, blending in other cheeses like provolone or gouda amplifies the taste experience. Parmesan cheese, sprinkled generously on top before baking, intensifies flavor with its sharpness. For those who enjoy a bit of heat, adding red pepper flakes can elevate the dish without overpowering the taste of the pizza.
Baking the Pizza
Cooking Time and Visual Cues
Baking is a critical phase in pizza-making. Aim for a cooking time of 12-15 minutes, checking periodically to avoid overbaking. Quality indicators include a crust that is golden brown and cheese that is bubbling and slightly beginning to turn golden. An ideal pizza should keep a slight jiggle when moved, indicating that the interior is cooked through but still moist.
Reducing Risk of Overbaking
To monitor your pizza without disrupting the bake, briefly open the oven door near the end of the baking time. This allows you to visually assess the crust and cheese without extracting the pizza from the oven’s heat. If you’re unsure, use a spatula to gently lift the edge of the pizza to check for browning. If it’s not quite there yet, close the door quickly and allow for additional baking time.
Garnishing and Serving
Cooling and Slicing
Allowing the pizza to cool for a few minutes post-baking is vital. This resting period lets the cheese set slightly, making it easier to slice without pulling off toppings. For clean slices, use a sharp pizza cutter and work from the center outward to create even wedges, which is visually appealing and ensures every slice has some of that delicious crust and topping combination.
Serving Suggestions
Presentation adds to the dining experience. Serve the pizza on a rustic wooden cutting board accompanied by a small bowl of extra pizza sauce for dipping. For a well-rounded meal, pair with a crisp side salad or garlic bread. Creative touches, such as adding fresh basil leaves on top for color and flavor at serving, can enhance the overall appeal of the pizza as the stunning centerpiece of your table.
Hosting a Pizza Party
Creating a Fun Atmosphere
To elevate the occasion, set a welcoming atmosphere. Simple decorations, such as checkered tablecloths or themed tableware, can set the mood. Curate a playlist of lively music that encourages mingling and laughter—this creates an inviting ambiance for your guests.
Engaging Guests in the Process
Involve your guests in the pizza-making experience! Set up a toppings station with a range of ingredients enabling everyone to create their own unique pizza. This interactive element fosters engagement and brings a sense of shared fun to the party. Consider making it a friendly competition, where guests can vote for best-looking or tastiest pizza.
Storing Leftovers
Proper Storage Methods
If you find yourself with leftover pizza, proper storage is essential for maintaining quality. Allow the pizza to cool completely before placing it in an airtight container. When stored correctly in the refrigerator, leftover pizza can last for up to 3-4 days. Using parchment paper between slices can prevent sticking and maintain the pizza’s texture.
Reheating Tips
Reheating pizza is an art. To preserve the crispness of the crust, reheating in an oven is preferable. Preheat the oven to 375°F (190°C), then place the pizza directly on the rack or on a baking sheet for about 10 minutes. This method gently warms the pizza while ensuring the crust regains some of its original crunch. Avoid using the microwave, as it tends to make the crust unpleasantly chewy.
Conclusion
This pizza recipe offers a delightful blend of textures and flavors, with a perfectly baked crust enveloping layers of cheese and diverse toppings. The thoughtful process, yielding a delicious pizza in about an hour, guarantees satisfaction for any gathering. The versatility of pizza allows it to shine in both taste and presentation, making it a continual favorite among hosts and guests alike.

Pizza Party Extravaganza Recipe
Ingredients
- 2 cups all-purpose flour
- 1 packet instant yeast
- 1 tsp granulated sugar
- 1 tsp salt
- ¾ cup warm water
- 1 tbsp extra virgin olive oil
- 1 cup pizza sauce
- 2 cups shredded mozzarella cheese
- ½ cup sliced pepperoni
- ½ cup assorted sliced bell peppers
- ¼ cup sliced black olives
- ¼ cup grated Parmesan cheese
- fresh basil leaves
- red pepper flakes
Instructions
- In a mixing bowl, combine flour, yeast, sugar, and salt.
- Gradually add warm water and olive oil, mixing until a dough forms.
- Knead the dough on a floured surface for 5-7 minutes until smooth.
- Place the dough in a greased bowl, cover, and let rise for 30 minutes.
- Preheat the oven to 475°F (245°C) and prepare a baking sheet.
- Roll out the dough to a 12-14 inch diameter on parchment paper.
- Spread pizza sauce on the dough, leaving a border around the edges.
- Top with mozzarella, pepperoni, bell peppers, olives, and Parmesan.
- Bake for 12-15 minutes until the crust is golden and cheese is bubbling.
- Garnish with basil and red pepper flakes, slice, and serve hot.