Burnt Basque Cheesecake That Fits Your Loaf Pan

Introduction
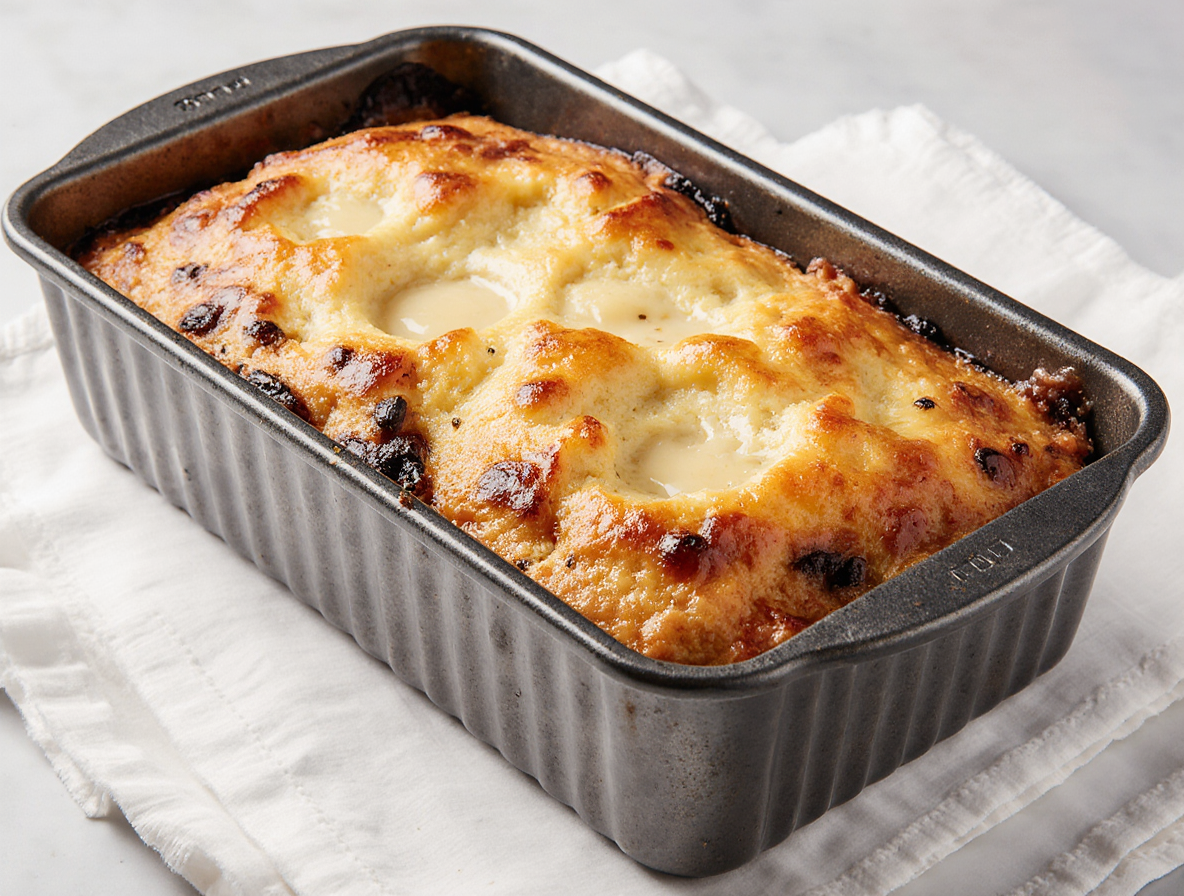
Forget the stress of water baths and perfect edges; the Burnt Basque Cheesecake is a glorious rebellion in the dessert world. Hailing from the Basque Country of Spain, this cheesecake is intentionally baked until the top is deeply dark, almost blackened, creating a beautiful contrast with its impossibly creamy, jiggly center. It is rich, decadent, and complex, with caramelized, bittersweet notes from its “burnt” exterior that perfectly balance the sweet, lush interior. This version is perfectly scaled for a standard loaf pan, making it an ideal dessert for smaller households or more intimate gatherings. It is spectacularly simple to make, requiring just a handful of ingredients and one bowl, yet it delivers a sophisticated, restaurant-quality dessert that is sure to impress.
Perfect for:
-
Intimate Dinner Parties
-
Impressive, No-Fuss Desserts
-
Small Households (No Leftover Overload)
-
Beginner Bakers
-
Holiday Celebrations
Why You’ll Love This Burnt Basque Cheesecake Recipe
Unbelievably Simple: There is no crust to make, no water bath to fuss with, and no fear of cracking. This is a mix, pour, and bake situation. Its rustic, “imperfect” beauty is part of the charm, making it foolproof for bakers of any level.
Dramatic and Impressive: The stark contrast between the dark, craggy top and the pale, creamy interior is visually stunning. Serving this cheesecake creates a true “wow” moment, belying its incredible ease.
Incredible Flavor and Texture: The high-heat bake creates a complex, slightly bitter caramelized flavor on the outside that cuts through the rich, sweet, and velvety custard within. It’s a sophisticated play on textures and tastes.
Perfectly Portioned: Using a loaf pan means you get a manageable amount of dessert—enough to share generously with a few guests or enjoy over several days without it becoming overwhelming.
Preparation and Cooking Time
Total Time: 5 hours (includes cooling time)
Preparation Time: 15 minutes
Cooking Time: 45-55 minutes
Servings: 6-8 slices
Calories per serving: Approximately 450-500 calories
Nutritional Information (Per Serving – Estimate):
Calories: 450-500 kcal
Protein: 9g
Carbohydrates: 25g
Fat: 35g
Fiber: 0g
Sugar: 20g
Nutritional Disclaimer
aileen recipes is not a dietician or nutritionist, and any nutritional information shared is only an estimate. We recommend running the ingredients through an online nutritional calculator if you need to verify any information.
Ingredients
-
16 ounces (450g) full-fat cream cheese, softened to room temperature
-
¾ cup (150g) granulated sugar
-
3 large eggs, at room temperature
-
1 cup (240ml) heavy cream, at room temperature
-
1 teaspoon vanilla extract
-
¼ teaspoon fine sea salt
-
⅓ cup (40g) all-purpose flour
-
Butter or baking spray, for greasing the pan
-
Parchment paper
Step-by-Step Instructions
-
Prepare the Oven and Pan: Preheat your oven to 400°F (200°C). Take a standard 9×5 inch loaf pan and grease it lightly. Cut a sheet of parchment paper large enough to line the pan with plenty of overhang on all sides. Crumple the parchment paper into a ball, then uncrumple it and press it into the greased loaf pan. The creases and wrinkles are perfect—they contribute to the rustic, textured look of the final cheesecake.
-
Combine Cream Cheese and Sugar: In a large bowl, using a hand mixer or a stand mixer with the paddle attachment, beat the softened cream cheese and sugar together on medium speed until completely smooth, creamy, and free of lumps. Scrape down the sides of the bowl as needed.
-
Incorporate the Eggs: Add the eggs, one at a time, beating well after each addition until just combined. Do not overmix once the eggs are in.
-
Add Wet and Dry Ingredients: Pour in the heavy cream, vanilla extract, and salt. Mix on low speed until the batter is uniform. Sift the all-purpose flour over the batter and mix on low speed until just incorporated and no dry streaks remain.
-
Bake to Perfection: Pour the batter into the prepared parchment-lined loaf pan. Tap the pan gently on the counter to release any large air bubbles. Place the loaf pan on a baking sheet (this helps with even baking and contains any potential drips) and transfer it to the preheated oven.
-
Achieve the “Burnt” Top: Bake for 45 to 55 minutes. The cheesecake is done when the top is a deep, dark brown—almost black—and the center still has a significant, dramatic jiggle when you gently shake the pan. It will look puffed up and cracked around the edges.
-
Cool Completely: Remove the cheesecake from the oven and let it cool completely in the pan on a wire rack. It will deflate significantly as it cools, which is normal and expected. For the best texture and cleanest slices, once it reaches room temperature, transfer the pan to the refrigerator and chill for at least 4 hours, or preferably overnight.
How to Serve Burnt Basque Cheesecake
-
Chilled and Sliced: Serve cold, straight from the refrigerator. Use the parchment paper to lift the entire cheesecake out of the loaf pan before slicing with a sharp knife wiped clean between cuts.
-
With Fresh Berries: The slight tartness of fresh raspberries, strawberries, or a berry compote provides a beautiful contrast to the rich, caramelized flavors of the cheesecake.
-
With a Sweet Wine: Pair a slice with a glass of sherry, Sauternes, or a late-harvest Riesling for a truly elegant dessert course.
-
Simply with Whipped Cream: A dollop of lightly sweetened fresh whipped cream balances the bittersweet notes of the “burnt” top perfectly.
Additional Tips for Burnt Basque Cheesecake
-
Room temperature ingredients are non-negotiable. They incorporate more easily and evenly, preventing a lumpy batter and ensuring the signature creamy texture.
-
Do not be tempted to bake it longer once the top is dark. The jiggly center is essential for the creamy, custardy interior once chilled.
-
For an extra layer of flavor, add the zest of one lemon to the batter along with the vanilla.
-
If the top is browning too quickly for your liking, you can tent it loosely with foil for the last 10-15 minutes of baking, though a very dark top is traditional.
Recipe Variations of Burnt Basque Cheesecake
Citrus-Infused Version: Add the zest of one orange or lemon to the batter for a bright, fresh twist that cuts through the richness.
Chocolate Swirl Version: Melt ½ cup of dark chocolate and let it cool slightly. After pouring the batter into the pan, dollop the chocolate on top and use a knife or skewer to gently swirl it through the batter.
Espresso Version: Dissolve 1-2 tablespoons of instant espresso powder into the heavy cream before adding it to the batter for a deep, coffee-flavored undertone.
Freezing and Storage for Burnt Basque Cheesecake
Storage: Store the cheesecake, covered in the refrigerator, for up to 5 days. The flavor and texture often improve after a day or two.
Freezing: This cheesecake freezes exceptionally well. Wrap the fully cooled and chilled cheesecake tightly in plastic wrap and then in aluminum foil. Freeze for up to 2 months. Thaw overnight in the refrigerator before serving.
FAQ Section about Burnt Basque Cheesecake
My top isn’t very dark. What happened?
Your oven temperature may be running low. Use an oven thermometer to verify. Next time, you can increase the temperature by 25°F for the last 5-10 minutes, but watch it closely.
The center was still completely liquid when I checked it.
This is normal. The center should be very wobbly, like Jell-O. It will firm up dramatically as it chills. As long as the top is dark and puffed, it is done.
Can I make this in a different pan?
Yes, an 8-inch round cake pan is a traditional alternative. The baking time may need to be adjusted, as a round pan is wider and shallower than a loaf pan.
Conclusion of Burnt Basque Cheesecake Recipe
The Burnt Basque Cheesecake is a testament to the beauty of simplicity. It shatters every preconceived notion of what a cheesecake should be, trading technical precision for rustic elegance and profound flavor. This loaf pan version makes this culinary masterpiece accessible to everyone, proving you don’t need special equipment or advanced skills to create a truly unforgettable dessert. Embrace the dark top, celebrate the jiggly center, and prepare to fall in love with one of the most forgiving and rewarding desserts you will ever bake.