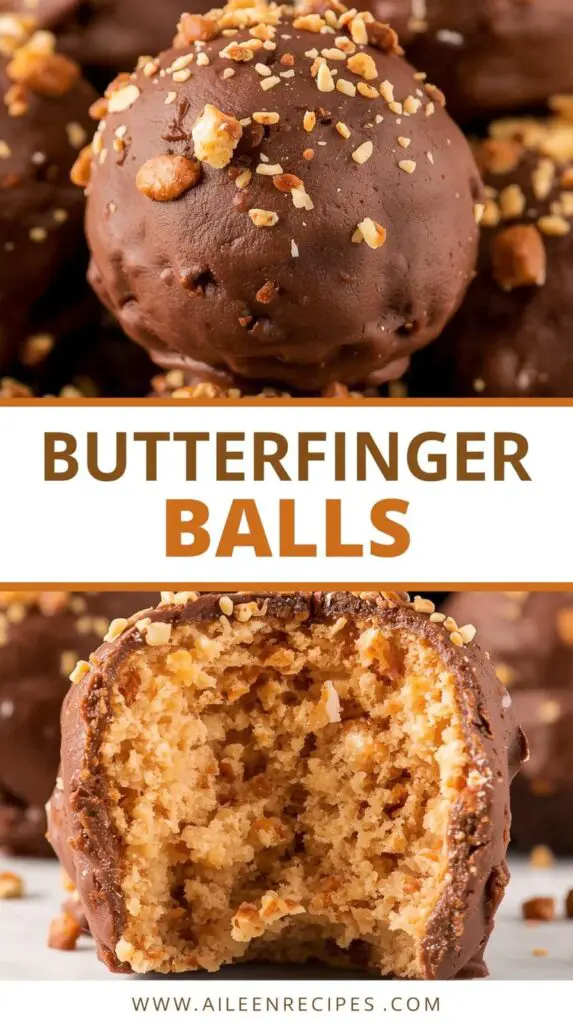
Butterfinger Balls
**Introduction**
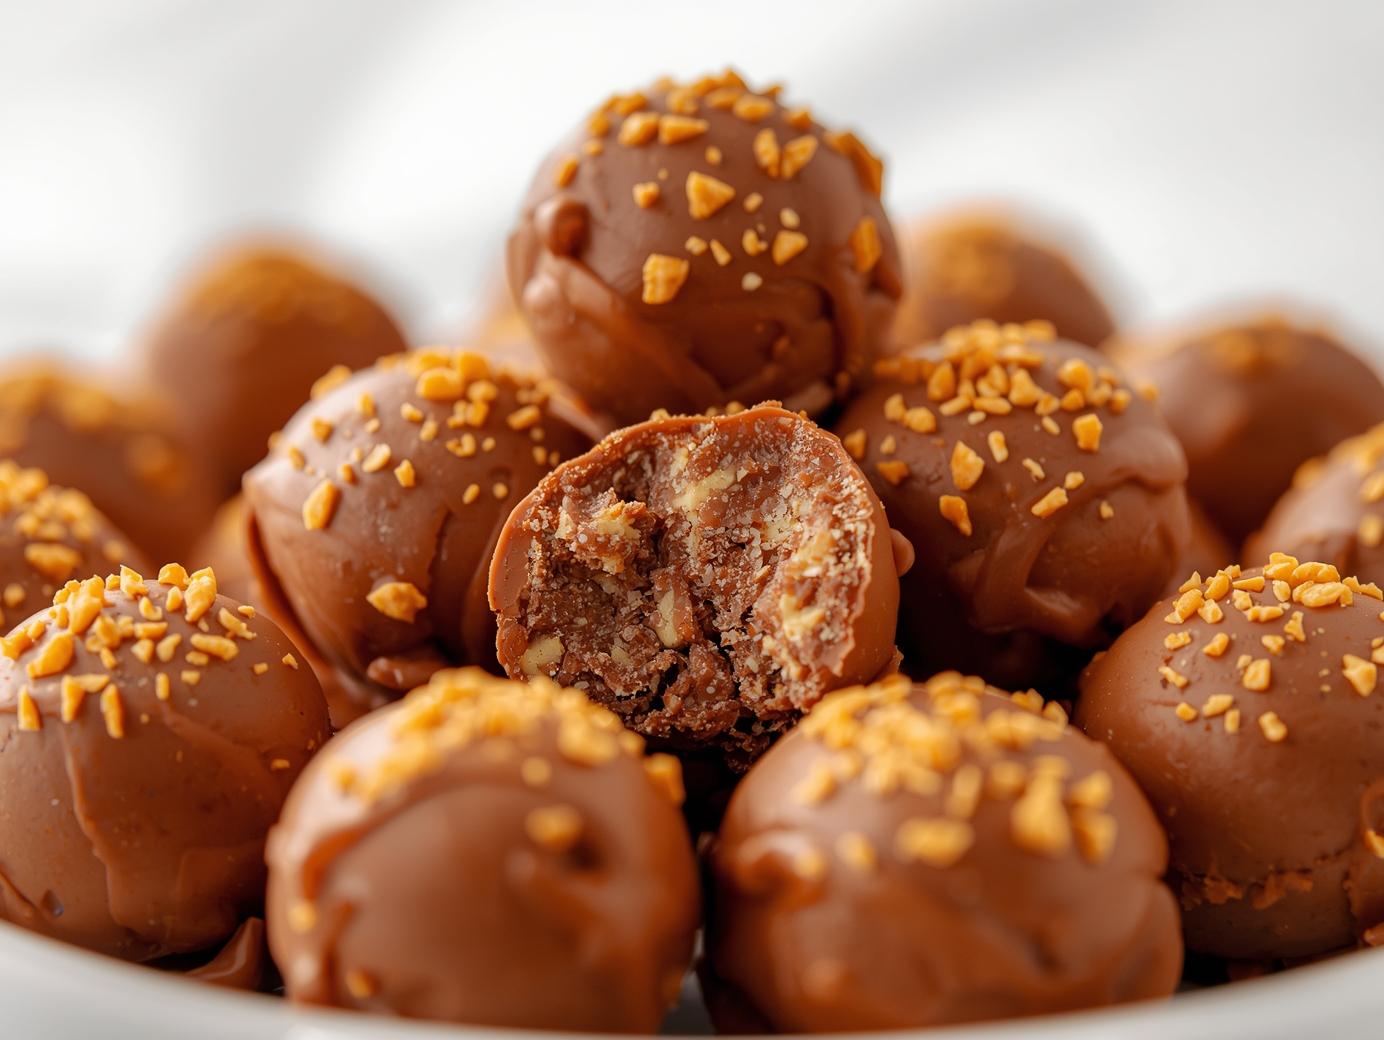
Imagine the iconic, crunchy, peanut-buttery bliss of a Butterfinger candy bar, transformed into a decadent, no-bake bite you can pop in your mouth. Butterfinger Balls are exactly that: an irresistibly **rich and indulgent** treat that delivers the candy’s signature flavor in a soft, truffle-like form. These little spheres of joy combine the crispy, flaky texture of crushed Butterfinger with a creamy, sweetened base, all cloaked in a smooth shell of chocolate. They are a spectacularly easy yet impressive homemade candy that requires zero baking and minimal culinary skill. Perfect for satisfying a serious sweet tooth or wowing guests at a gathering, these balls are a foolproof recipe that turns a classic candy into a shareable, festive dessert.
**Perfect for:**
– Holiday cookie swaps and gift boxes (Christmas, Halloween)
– Potlucks and party dessert platters
– After-school treats or lunchbox surprises
– Movie nights and game day snacks
– A fun, quick cooking project with kids
**Why You’ll Love This Butterfinger Balls Recipe**
**Unbeatable Flavor and Texture:** This recipe perfectly captures the unique peanut butter and crispy wafer taste of a Butterfinger in a delightful new form, offering a satisfying contrast between the creamy interior, crunchy bits, and smooth chocolate shell.
**Incredibly Simple, No-Bake Process:** With just a bowl, a spoon, and a refrigerator, these come together effortlessly. There’s no oven, no tempering chocolate (unless you want to), and no special equipment needed.
**Fantastic for Gifting and Sharing:** These treats look professional and are always met with delight. Packed in a decorative box or tin, they make a heartfelt, homemade gift for neighbors, teachers, or friends.
**Kid-Friendly Fun:** The process of rolling the mixture into balls and dipping them is engaging and simple, making it an ideal recipe for little helpers in the kitchen.
**Preparation and Cooking Time**
Total Time: 1 hour 30 minutes (includes chilling)
Preparation Time: 30 minutes
Cooking Time: 5 minutes (melting chocolate)
Servings: Approximately 24-30 balls
Calories per serving: Approximately 120-150 calories (per ball)
**Nutritional Information (Per Ball – Estimate):**
**Calories:** 120-150 kcal
**Protein:** 2g
**Carbohydrates:** 15g
**Fat:** 7g
**Fiber:** 1g
**Sugar:** 12g
**Nutritional Disclaimer**
aileenrecipes is not a dietician or nutritionist, and any nutritional information shared is only an estimate. We recommend running the ingredients through an online nutritional calculator if you need to verify any information.
**Ingredients**
* 1 (10 oz) bag Butterfinger baking bits, or 8 full-size (2.1 oz) Butterfinger bars, finely crushed
* 4 oz (half a block) full-fat cream cheese, softened to room temperature
* 2 cups powdered sugar
* 1 teaspoon vanilla extract
* 12 ounces chocolate melting wafers or high-quality chocolate chips (milk, dark, or semi-sweet)
* Optional for garnish: Drizzle of extra melted chocolate, white chocolate, or a sprinkle of finely crushed Butterfinger crumbs.
**Step-by-Step Instructions**
1. **Prepare the Butterfinger:** If using full-size candy bars, place them in a large zip-top bag and crush thoroughly with a rolling pin until you have a mix of fine crumbs and some small, pea-sized pieces for texture. Set aside.
2. **Make the Base:** In a large mixing bowl, beat the softened cream cheese and vanilla extract together with a hand mixer or sturdy spoon until smooth and creamy.
3. **Combine:** Gradually add the powdered sugar to the cream cheese, mixing on low speed until fully incorporated. The mixture will be very thick.
4. **Add the Butterfinger:** Using a spatula, fold in the crushed Butterfinger pieces until they are evenly distributed throughout the thick, sticky mixture.
5. **Chill the Mixture:** Cover the bowl with plastic wrap and refrigerate for at least 30 minutes. This firms up the mixture, making it much easier to roll.
6. **Form the Balls:** Using a small cookie scoop or a tablespoon, portion out the mixture. Roll each portion firmly between your palms to form a smooth, compact ball. Place each ball on a parchment or wax paper-lined baking sheet. If the mixture becomes too soft or sticky during rolling, return it to the refrigerator for 10-15 minutes.
7. **Chill Again:** Once all balls are rolled, place the entire baking sheet in the freezer for 15-20 minutes. This critical step ensures they hold their shape during dipping.
8. **Melt the Chocolate:** While the balls chill, melt the chocolate wafers or chips according to package directions, typically in a microwave-safe bowl in 30-second intervals, stirring between each, until completely smooth.
9. **Coat the Balls:** Using a fork or dipping tools, submerge each chilled ball into the melted chocolate, tapping gently on the side of the bowl to allow excess chocolate to drip off. Return the coated ball to the parchment-lined sheet.
10. **Garnish and Set:** If desired, immediately garnish with a drizzle of contrasting chocolate or a sprinkle of Butterfinger crumbs before the chocolate sets. Allow the chocolate coating to harden completely at room temperature, or refrigerate for 15 minutes to speed up the process.
**How to Serve Butterfinger Balls**
* As a standout addition to a holiday dessert platter with cookies and fudge.
* Packaged in petite candy papers and placed in a decorative tin for gifting.
* Piled high in a bowl for a casual, self-serve treat at a party or family gathering.
* With a cold glass of milk or a cup of coffee to balance the sweetness.
**Additional Tips for Butterfinger Balls**
* For the best texture, do not pulverize the Butterfinger into a uniform powder. A variety of crumb sizes provides the classic crispy experience.
* Ensure the cream cheese is fully softened to avoid lumps in your mixture.
* Do not skip the second chill in the freezer. A very cold center prevents the ball from melting or losing its shape in the warm chocolate.
* For a professional finish, use chocolate melting wafers. They are formulated to melt smoothly, set firmly, and hold their shape at room temperature.
**Recipe Variations of Butterfinger Balls**
* **Peanut Butter Lover’s:** Add ¼ cup of creamy peanut butter to the cream cheese mixture for an even more intense peanut flavor.
* **Cookie Dough Style:** Replace ½ cup of the powdered sugar with ½ cup of crushed vanilla wafers or graham cracker crumbs.
* **Salted Caramel:** Before dipping in chocolate, press a soft caramel candy into the center of each ball. Drizzle with salted caramel sauce after dipping.
* **Cocoa Dusted:** Instead of a full chocolate coat, roll the chilled balls in unsweetened cocoa powder or powdered sugar for a simpler, less sweet version.
**Freezing and Storage for Butterfinger Balls**
**Storage:** Store finished Butterfinger Balls in a single layer or between sheets of parchment paper in an airtight container in the refrigerator for up to 2 weeks.
**Freezing:** They freeze exceptionally well for up to 3 months. Place them in a single layer on a baking sheet to freeze solid, then transfer to a freezer bag or container. Thaw in the refrigerator overnight.
**FAQ Section about Butterfinger Balls**
**Can I use low-fat or whipped cream cheese?**
No. Full-fat, brick-style cream cheese is essential for the proper stiff, rollable consistency. Low-fat or whipped varieties contain more water and will create a sticky, unworkable mixture.
**My mixture is too sticky to roll. What do I do?**
This means it needs more chilling time. Return the bowl to the refrigerator for another 20-30 minutes. You can also dust your hands lightly with powdered sugar to prevent sticking while rolling.
**What’s the best chocolate for coating?**
For ease and a perfect finish, chocolate candy melts or almond bark wafers are ideal. For a richer taste, use high-quality chocolate chips with a teaspoon of coconut oil added to help it melt smoothly.
**Can I make these without nuts?**
Butterfinger itself contains peanuts. For a nut-free version, you would need to substitute the Butterfinger with a nut-free crispy toffee candy alternative, though the signature flavor will differ.
**Conclusion of Butterfinger Balls Recipe**
Butterfinger Balls are a testament to the magic of simple, no-bake confections. They deliver the nostalgic, crave-worthy flavor of a beloved candy bar in a fun, shareable, and utterly delicious format. This recipe strips away any intimidation from candy-making, offering a straightforward path to a treat that consistently earns rave reviews. Whether you’re creating a heartfelt holiday gift, needing a last-minute party contribution, or simply orchestrating a fun kitchen activity, these irresistible bites are the perfect solution. So, grab those Butterfingers, soften that cream cheese, and get ready to roll up a batch of pure, chocolate-coated joy.