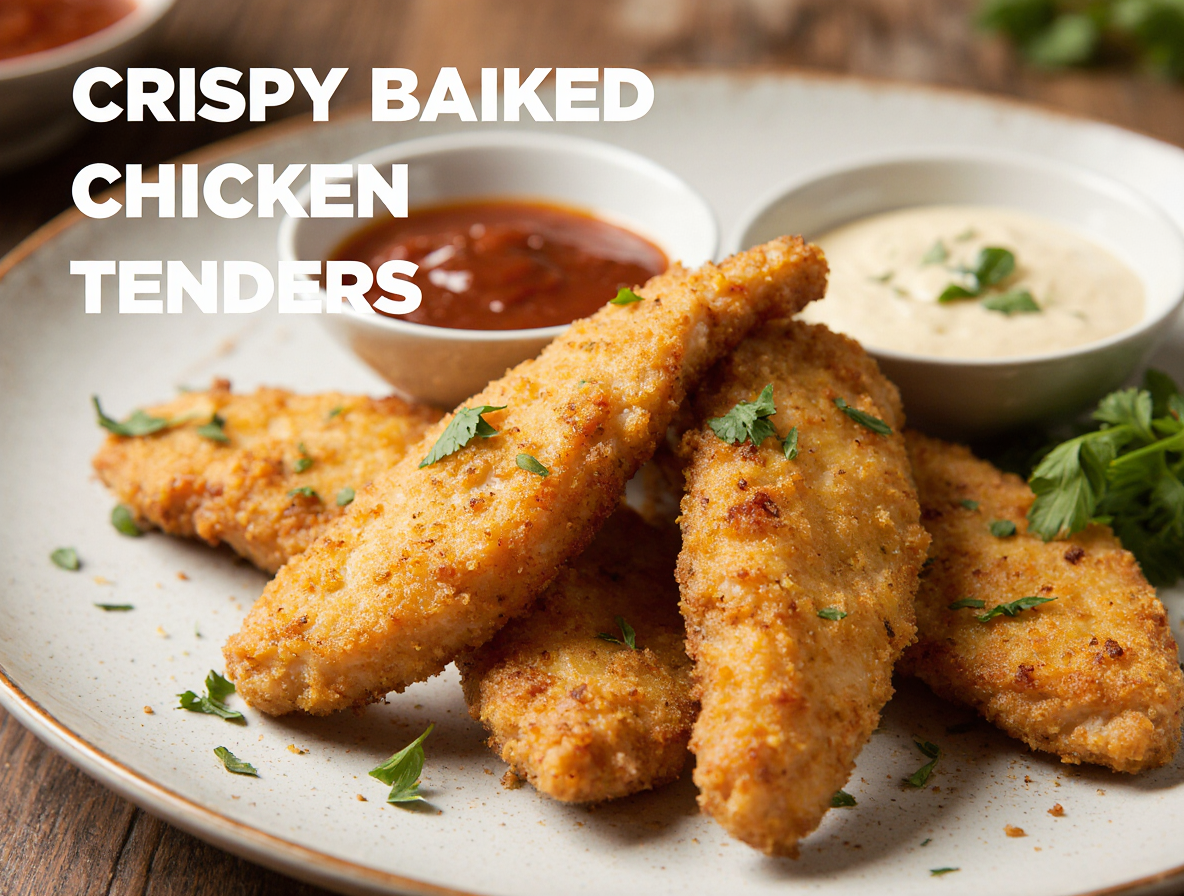
The Secret to Perfect Baked Chicken Tenders (Crispy Without Frying)

Crispy, golden chicken tenders that aren’t fried? My baked chicken tenders recipe delivers exactly that, thanks to one game-changing technique. The secret to truly golden, truly crunchy baked breaded chicken is to toast the breadcrumbs in the oven first. This simple step transforms ordinary oven-baked tenders into something spectacular – without the guilt or mess of traditional frying.
For years, I struggled with soggy breaded chicken until I discovered how to make crispy chicken tenders in the oven consistently. Using panko breadcrumbs is essential for that extra crunch factor, while properly preparing your chicken ensures the coating sticks perfectly. Best of all, these crispy oven baked chicken tenders are ready in under 20 minutes, making them perfect for busy weeknights. Additionally, you’ll avoid all the stovetop splatter while still enjoying that satisfying crunch with every bite. If you’ve had issues with breading falling off in the past, don’t worry – I’ll show you exactly how to fix that problem and achieve perfectly crispy results every time.
Choosing the Right Ingredients for Crispy Baked Chicken Tenders
The foundation of exceptional baked chicken tenders begins with selecting the right ingredients. Each component plays a crucial role in achieving that perfect crunch without frying.
Why panko breadcrumbs matter
First of all, not all breadcrumbs are created equal. Panko breadcrumbs, Japanese in origin, are larger than standard breadcrumbs, creating far better crunch in your finished tenders. You’ll typically find them in the Asian section of most supermarkets at just a slight premium over regular breadcrumbs. The secret that many home cooks miss is pre-toasting these breadcrumbs. As chicken tenders bake, they release moisture that can make regular breadcrumbs soggy. By toasting panko first (either in the oven or with 1 tablespoon butter per cup of breadcrumbs in a pan), you create a moisture barrier that maintains crispiness throughout baking.
The role of parmesan in flavor and texture
Parmesan cheese isn’t just for Italian dishes – it’s actually a game-changer for crispy baked chicken tenders. Beyond adding a pleasant salty flavor, parmesan helps bind the breadcrumbs together, creating a more cohesive coating. Furthermore, the cheese contributes to the overall crispiness of the finished product. In fact, tests comparing tenders with and without parmesan consistently show that the cheese-enhanced version maintains better texture.
Best cuts of chicken to use
Technically, chicken “tenders” aren’t just any strips of chicken. The authentic chicken tender is actually the tenderloin – a thin strip of muscle attached to the underside of the chicken breast along the breastbone. This cut is slightly more tender than regular breast meat and marginally higher in sodium and calories, giving it a somewhat more flavorful profile. However, boneless, skinless chicken breast cut into strips works perfectly well as a substitute. For maximum tenderness, cut breast meat against the grain into 1/2-inch strips.
Essential spices for seasoning
Creating a standout spice blend elevates your baked chicken tenders from ordinary to extraordinary. The classic combination includes garlic powder, onion powder, paprika, salt, and black pepper. For additional depth, consider incorporating dried herbs like oregano or parsley. Moreover, some recipes add smoked paprika for a pleasant smoky undertone. Those seeking a kick of heat might include a dash of cayenne pepper. Remember to season both your chicken and your breadcrumb mixture for the most flavorful results.
Step-by-Step: How to Make Baked Breaded Chicken Tenders
Now that we’ve gathered our ingredients, let’s dive into the technique that makes our baked chicken tenders recipe truly spectacular. These methods guarantee crispy results without any deep frying.
1. Toasting the breadcrumbs for extra crunch
The game-changing first step for crispy baked chicken tenders is pre-toasting your panko breadcrumbs. Initially, spread them in a single layer on a baking sheet and lightly spray with oil. Bake at 400°F for 3-5 minutes until they turn light golden brown. Alternatively, melt 1 tablespoon of butter per cup of breadcrumbs in a pan over medium heat and fry until golden. This crucial step creates a moisture barrier that prevents soggy tenders during baking.
2. Preparing the dredge and batter
Set up your dredging station with three shallow dishes. For the classic method, place flour mixed with seasonings in the first dish, beaten eggs (sometimes thinned with milk or water) in the second, and your toasted panko mixture with parmesan in the third. For a simpler approach, combine egg, mayonnaise, dijon mustard, flour, salt, and pepper in one bowl to create a rich batter that helps chicken retain moisture.
3. Coating the chicken without the mess
For clean fingers throughout the process, try the bag method: place chicken in a resealable plastic bag with beaten eggs, seal and shake, then add breadcrumbs and shake again. Otherwise, use tongs to transfer chicken between stations. Essentially, dip each piece in flour first, then egg wash, then press firmly into breadcrumbs, ensuring complete coverage. Let the breaded tenders rest for 10-15 minutes before baking to help the coating set.
4. Baking on a wire rack for even crisping
Place a wire cooling rack over a foil-lined baking sheet – this allows heat to circulate completely around the tenders. Subsequently, arrange tenders with space between them to prevent soggy spots from trapped steam. Lightly spray both sides with cooking oil before baking at 400°F for 15-20 minutes. For extra crispiness, finish with 2-3 minutes under the broiler, but watch carefully to prevent burning.
Tips to Make Crispy Chicken Tenders in the Oven
Even with perfect ingredients and technique, achieving truly crispy baked chicken tenders requires attention to these final details. These professional tips solve common problems that often prevent home cooks from getting that satisfying crunch.
Use oil spray before baking, not after
The timing of oil application makes a remarkable difference in your results. Lightly spray tenders with cooking oil before they go into the oven, consequently helping the breadcrumbs become golden and crispy. Hold the spray bottle about a foot away from the chicken to prevent the breading from flying off. Olive oil or avocado oil spray works well, although any cooking spray will do. This pre-bake oil application creates that beautiful golden exterior, whereas spraying after cooking simply adds unnecessary fat without improving crispiness.
Let the breading set before baking
After breading your chicken tenders, patience pays off. Allow the coated tenders to rest at room temperature for 10-15 minutes before baking. This brief waiting period helps the coating adhere better throughout the cooking process. Indeed, for maximum convenience, you can even bread the chicken up to 24 hours beforehand and store it in the refrigerator. This resting period ensures your coating stays put instead of sliding off when you bite in.
Avoid overcrowding the pan
Spacing your chicken tenders properly is non-negotiable for crispiness. When tenders are placed too close together, they release moisture that can’t escape quickly. Instead of evaporating, this liquid creates a steamy environment, leaving you with soggy, unevenly cooked chicken. Each tender should have breathing room on all sides. Rather than trying to cook everything at once, consider preparing smaller batches – your patience will be rewarded with properly crispy results.
Broil at the end for extra golden color
For that picture-perfect finish, consider using your broiler. After baking your tenders completely, switch to the broiler setting for 1-2 minutes at the end. Position the rack about 6 inches from the heating element. Throughout this process, keep a vigilant eye on the tenders since they can go from perfectly golden to burnt remarkably quickly. This final blast of heat delivers that restaurant-quality golden-brown appearance.
Use a cooling rack after baking
The journey to crispy tenders doesn’t end when they leave the oven. Place freshly baked tenders on a wire cooling rack rather than directly on a plate. This prevents condensation from forming underneath, which would otherwise make the bottom soggy. Furthermore, allowing proper air circulation helps the coating set firmly as it cools. Just a few minutes of rest on a rack makes the difference between maintaining that satisfying crunch or ending up with disappointingly soft breading.
Serving Ideas and Storage Tips
After creating perfectly crispy baked chicken tenders, proper serving and storage methods can elevate your dining experience even further. From delicious dipping options to smart storage solutions, these tips ensure your crispy baked chicken tenders remain a standout meal.
Best dipping sauces to pair with
Nothing complements crispy baked chicken tenders like the perfect dipping sauce. Classic options include ketchup, BBQ sauce, and honey mustard, especially for kid-friendly meals. For homemade alternatives, try equal parts mustard and honey for a quick honey mustard, or make a creamy red pepper-basil dipping sauce using Greek yogurt, fresh basil, and roasted red peppers. Besides these options, consider spicy honey chipotle sauce, Alabama white BBQ sauce, or bang bang sauce for adventurous palates. These sauces store well in the refrigerator for 4-5 days when covered properly.
Side dishes that complement tenders
Particularly excellent with crispy oven baked chicken tenders are starchy sides like mac and cheese, crinkle-cut fries, or homemade potato chips. For a nutritional boost, roasted vegetables make perfect companions – zucchini, broccoli, and carrots provide excellent contrast to the crispy tenders. Fresh, light options such as cucumber tomato salad, coleslaw, or fruit can balance the meal. Pasta dishes, including orzo with peas or dill pickle pasta salad, offer interesting flavor combinations that kids and adults alike enjoy.
How to store and reheat leftovers
Prior to storing your baked breaded chicken tenders, allow them to cool completely to room temperature. Place them in an airtight container in the refrigerator for 3-4 days. For reheating, four effective methods exist:
- Air fryer (8 minutes at 375°F, flipping halfway) – best for crispiness
- Oven (15 minutes at 350°F, flipping once)
- Toaster oven (10 minutes at 350°F)
- Microwave (2 minutes with damp paper towel on top)
Explicitly avoid reheating multiple times as chicken tenders will dry out after one reheating.
Freezing tips for make-ahead meals
Specifically for make-ahead planning, freezing your crispy chicken tenders in oven works excellently. After cooling completely, flash freeze them by arranging in a single layer on a baking sheet for 1-2 hours. Once individually frozen, transfer to an airtight container or freezer bag where they’ll keep for up to 3 months. To reheat frozen tenders, preheat your air fryer to 375°F and cook for 3-5 minutes, flipping halfway through. These frozen tenders make perfect additions to quick meals, salads, wraps, or sandwiches when you need a protein boost.
Conclusion
Making truly crispy chicken tenders without frying might seem impossible, but as you’ve seen throughout this recipe, a few key techniques make all the difference. Pre-toasting panko breadcrumbs certainly stands as the game-changing first step that transforms ordinary baked tenders into crispy delights. This simple adjustment creates that golden, crunchy exterior we all crave without the mess or guilt of deep frying.
Additionally, choosing the right ingredients—from panko breadcrumbs to parmesan cheese—plays a crucial role in achieving perfect results. The proper dredging technique, coupled with adequate spacing on the baking sheet, essentially guarantees success every time you make these tenders.
What I love most about this recipe is how adaptable it becomes once you master the basic technique. You can customize the seasonings, pair with countless dipping sauces, or serve alongside various side dishes for endless meal possibilities. The fact that these tenders reheat beautifully also makes them perfect for meal prep or busy weeknight dinners.
After trying these crispy baked chicken tenders, you’ll likely find yourself turning to this recipe again and again. The combination of convenience, healthier preparation, and that satisfying crunch with every bite simply can’t be beat. Though baking rather than frying might seem like a compromise at first, these chicken tenders prove otherwise—delivering restaurant-quality results straight from your home oven.
FAQs
Q1. How can I make chicken tenders crispy without frying? The secret to crispy baked chicken tenders is pre-toasting the panko breadcrumbs before coating the chicken. This creates a moisture barrier that maintains crispiness during baking. Additionally, using a wire rack for baking allows heat to circulate evenly around the tenders.
Q2. What’s the best type of breadcrumbs to use for crispy chicken tenders? Panko breadcrumbs are ideal for achieving extra crunch in baked chicken tenders. They are larger than standard breadcrumbs and create a better texture. For best results, toast the panko breadcrumbs before using them to coat the chicken.
Q3. How long should I bake chicken tenders in the oven? Bake chicken tenders at 400°F for 15-20 minutes. For extra crispiness, you can finish them under the broiler for 2-3 minutes, but watch carefully to prevent burning. Always ensure the internal temperature of the chicken reaches 165°F for food safety.
Q4. What are some good dipping sauces for chicken tenders? Popular dipping sauces include classic options like ketchup, BBQ sauce, and honey mustard. For homemade alternatives, try mixing equal parts mustard and honey for a quick honey mustard sauce. Other options include spicy honey chipotle sauce, Alabama white BBQ sauce, or a creamy red pepper-basil dipping sauce.
Q5. Can I freeze baked chicken tenders for later use? Yes, you can freeze baked chicken tenders for make-ahead meals. After cooling completely, flash freeze them on a baking sheet for 1-2 hours, then transfer to an airtight container or freezer bag. They’ll keep for up to 3 months. To reheat, use an air fryer at 375°F for 3-5 minutes, flipping halfway through.